REVIEW · TOKYO
Tokyo: Gameboy Mod Workshop at Akihabara
Book on GetYourGuide →Operated by + Y · Bookable on GetYourGuide
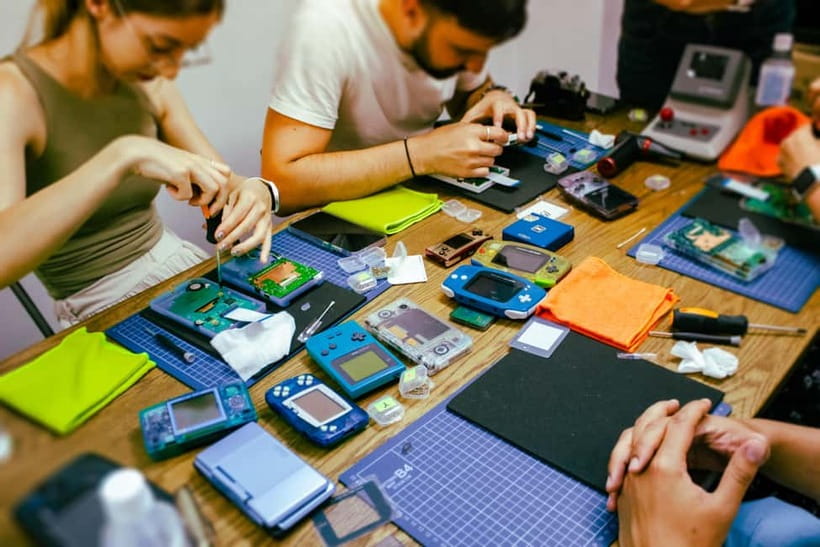
You leave with a Game Boy you built. In Akihabara, this workshop is pure hands-on fun: you pick your own base Game Boy (DMG-01), then choose colors, buttons, and parts before you take the whole thing apart and rebuild it. The Gameboy Masters guide you step by step, and the class is small enough that you’re not stuck watching while someone else does the work.
I also like that you’re not just assembling plastic and screws. You get a short look at Game Boy history and how handhelds evolved, with staff who can explain things in English or Japanese, so even if you’re new to retro tech, you’re still in the loop. One consideration: the workshop is on the second floor of Wakita Building with no elevators or escalators, so step-free access isn’t an option.
In This Review
- Key things that make this Game Boy mod workshop worth your time
- Akihabara + a Game Boy build = the most Tokyo souvenir imaginable
- What happens during the 2-hour workshop (step by step)
- Picking your Game Boy: the fun starts with choices, not instructions
- The Gameboy Masters approach: hands-on building without the panic
- The history lesson: why it’s not just background noise
- The moment you test it: a souvenir that still plays
- Buying retro games right there in Akihabara (and why prices feel fair)
- The $360 price: is it worth it, or just nostalgia markup?
- Who should book this workshop (and who should consider skipping)
- Before you go: simple tips so you enjoy every minute
- Should you book the Gameboy Mod Workshop in Akihabara?
- FAQ
- How long is the Gameboy Mod Workshop in Tokyo?
- What’s the price for the workshop?
- How many people are in each group?
- What languages do the instructor and staff speak?
- Where do I meet for the workshop?
- Is the workshop wheelchair accessible?
Key things that make this Game Boy mod workshop worth your time

- Pick your own DMG-01 and customization parts before you start the build
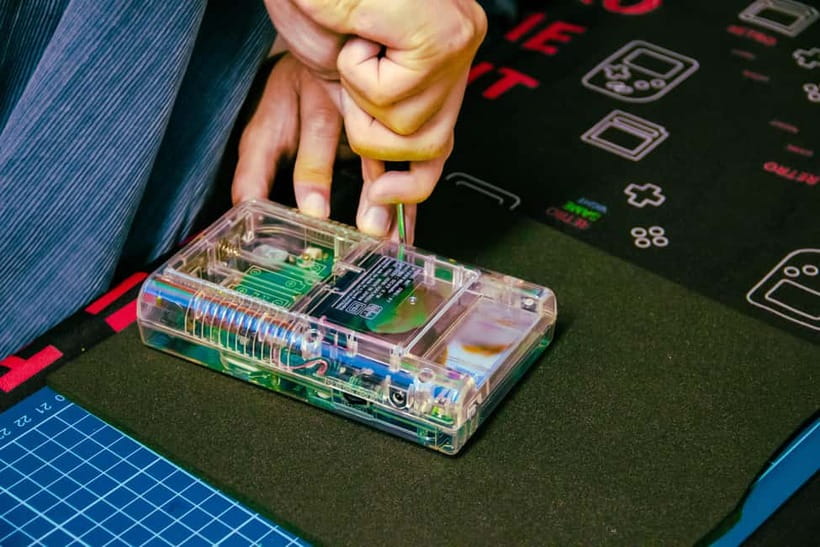
- Swap screen, buttons, and colors to make it look and feel like yours
- Take apart and rebuild your Game Boy with real guidance at hand
- Small group size (up to 4) so you actually get attention and help
- You leave with a working mod and can buy retro games on site
- Second-floor meeting point means stairs are part of the plan
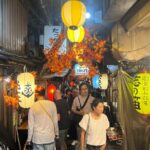
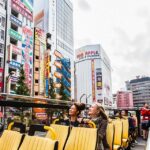
Akihabara + a Game Boy build = the most Tokyo souvenir imaginable
Akihabara is where people go when they want toys, tech, and nostalgia without pretending it’s anything else. That’s why a Game Boy mod workshop fits so well here. Instead of buying another souvenir you’ll only photograph, you’re making something that still does the job it was made for—playing games.
And it’s not a cosplay-level experience. You’re working on a real vintage-style handheld (DMG-01) and customizing it with replacement parts like screen, buttons, and outer colors. The result is a piece of retro Japan you can keep using after the trip.
You can also read our reviews of more tours and experiences in Tokyo
What happens during the 2-hour workshop (step by step)
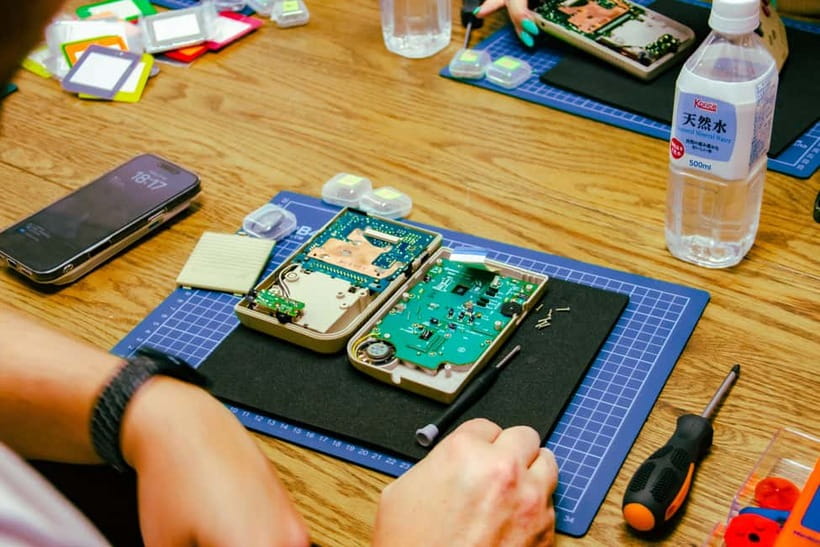
This is a tight, well-paced 2-hour session. With a small group capped at 4 participants, you’re moving through each stage without long waits.
Here’s the flow you can expect:
First, you get an intro and a history piece. The team covers the Game Boy’s background and influence, and they also talk about handheld tech in general. In some sessions, they even show related systems as part of the explanation, so the history has context you can see, not just hear.
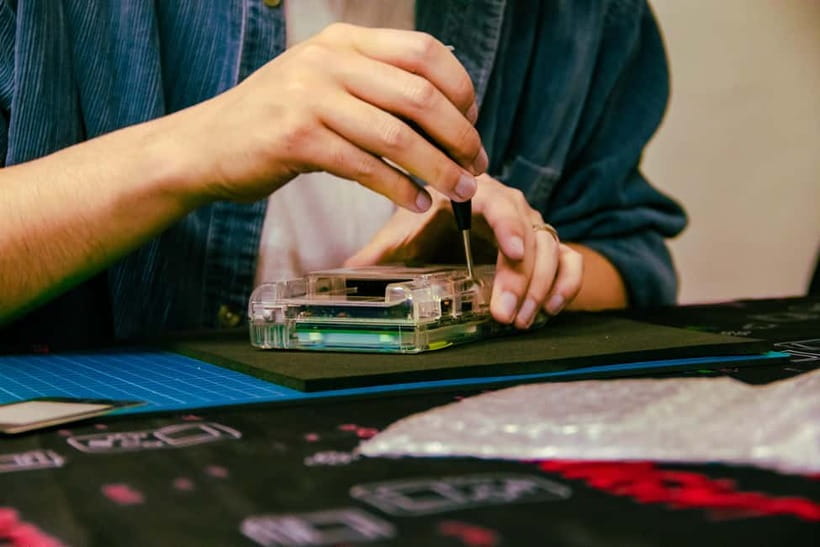
Next comes the choosing. You’ll pick out your own device base and then select your preferred customization options—screen-related choices, buttons, and the colors/parts that go into the final look. This is the moment where the workshop stops being generic and starts feeling personal.
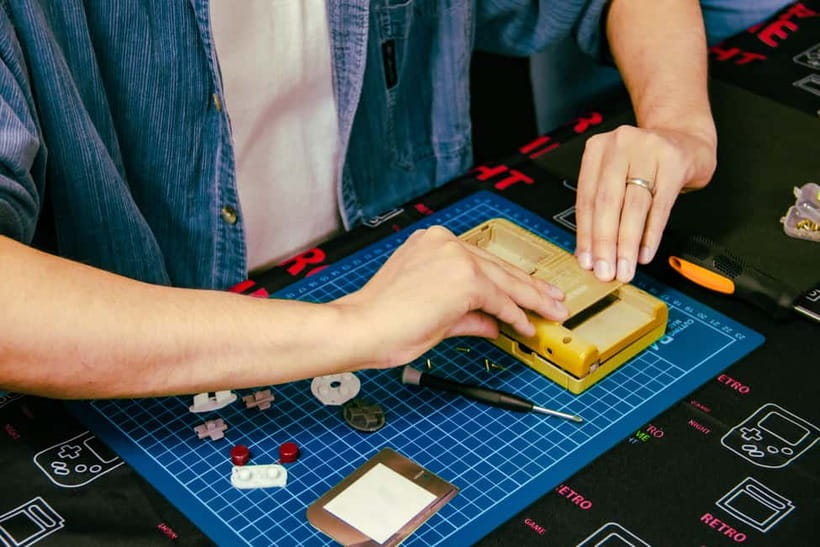
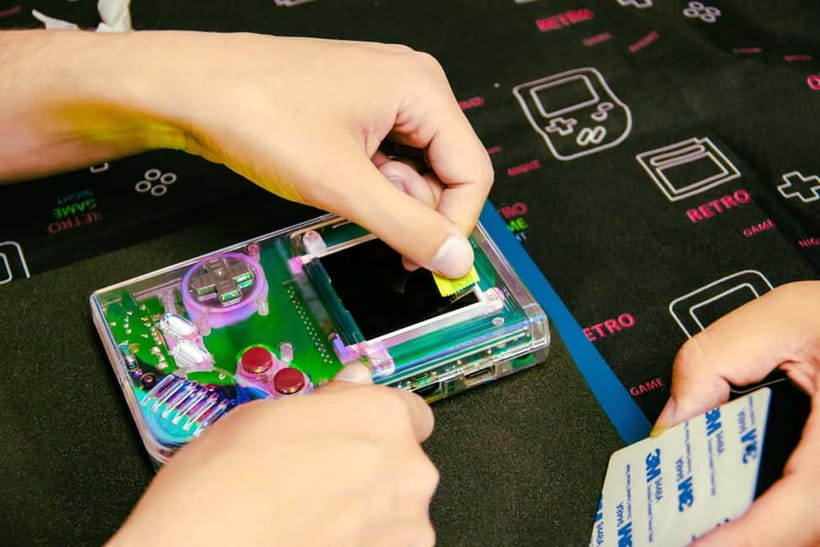
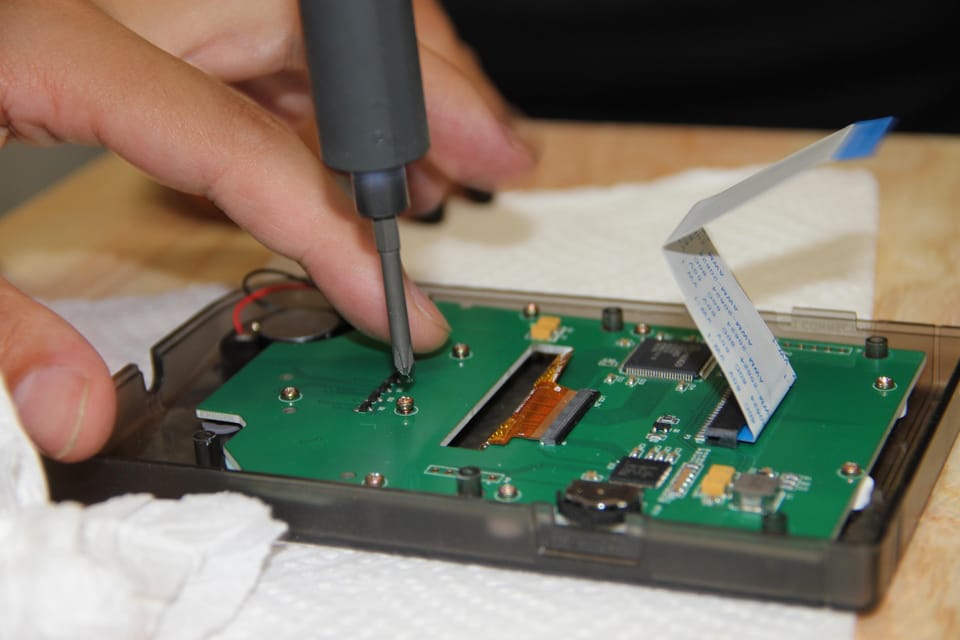
Then you get to the main event: disassembly and rebuild. You take the Game Boy apart, swap the parts you chose, and then rebuild it into a working console. If anything feels tricky, the staff can step in quickly and help you get things back on track.
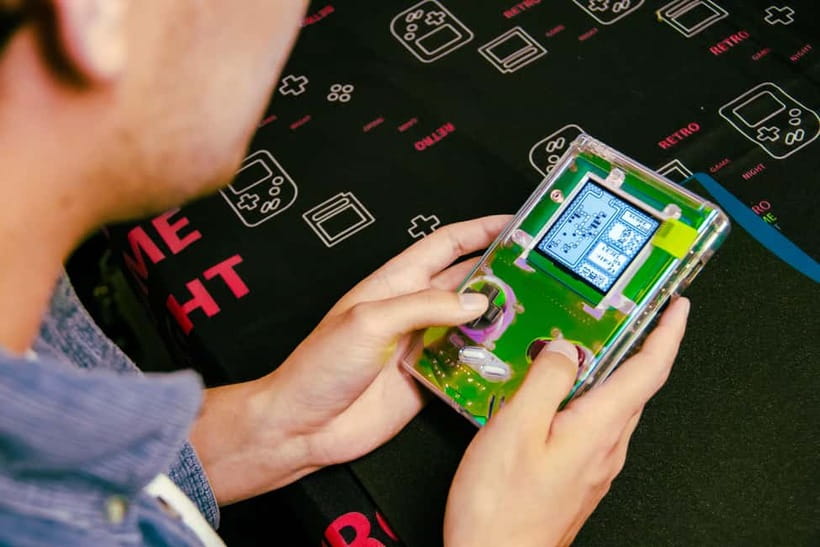
Finally, you’re not done until you can use it. After the build, you’ll get time to play/confirm your setup, and you can also choose games to buy and take home. Several people mention that the workshop experience includes the kind of attention that helps ensure everything works properly before you leave.
Picking your Game Boy: the fun starts with choices, not instructions
The workshop is designed around one idea: your hands should make the decisions. You start by choosing the device you’ll work on (the classic DMG-01 base), and then you customize the details.
The specific customization options listed include:
- Screen changes
- Button selection
- Color and part choices for the case/frame
That matters more than it sounds. When you choose your own colors and controls, the build becomes something you’re proud of in a very practical way. You’re not just buying a product with a price tag—you’re creating a device that matches your taste.
In the experience reports, people also mention upgrades like a brighter/backlit screen and added features. Even if you’re not chasing specs, that kind of improvement is a big part of why it’s a good souvenir: it’s not just authentic-looking hardware, it’s easier to use after you get home.
The Gameboy Masters approach: hands-on building without the panic
A lot of DIY workshops fail at one thing: they either rush you or they don’t have enough help when something goes wrong. Here, the small group size makes a huge difference.
With up to 4 participants, you’re not fighting for attention. People describe the staff as energetic, patient, and quick to assist if a snag appears. The overall tone is “let’s get it done right,” not “hope you figure it out.”
What you’re doing physically is the core value. Taking apart a Game Boy and putting it back together turns nostalgia into competence. You learn how the handheld is laid out, where parts sit, and how the pieces interact. That’s also why this works for more than one type of traveler. If you love electronics, you’ll get the satisfaction of working hardware. If you’re just a Game Boy fan, you’ll still feel the payoff when it clicks back into place and powers up.
The history lesson: why it’s not just background noise
This isn’t a lecture-only class. The history part is short and tied directly to what you’re holding.
You learn about:
- The Game Boy’s background and influence
- How handheld gaming evolved over time
That’s valuable for two reasons. First, it gives you context for why the Game Boy became such a cultural object in the first place. Second, it helps you understand the design decisions you see while building—why components are where they are, and what “classic hardware” really means.
In a few write-ups, people specifically mention mini lessons that introduce different versions of handhelds and show related systems for comparison. If you want your Tokyo experience to be about more than shopping, that history component helps.
And yes, the staff can explain things in English and Japanese, so you’re not left decoding everything on your own.


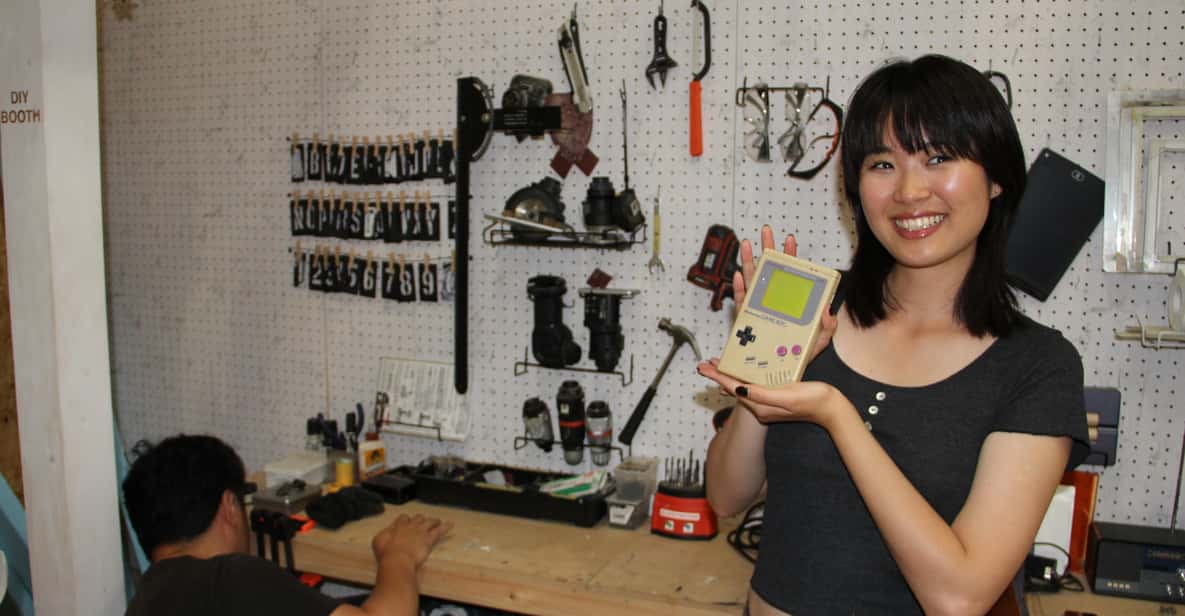
The moment you test it: a souvenir that still plays
There’s a special kind of pride when you finish assembling something that turns on. The goal here is clear: you leave with a fully functioning Game Boy that you customized.
A number of participants highlight how carefully the crew checks things and how they’ll help double-check the build as you go. That’s a big deal at a workshop like this, because retro hardware isn’t always plug-and-play. The experience is designed to get you to a good end result, not just a pile of parts.
Also, people report that you get a protective case for your finished console to display and keep it safe. That might sound minor, but it changes how you treat the device after the workshop—less fragile souvenir, more “this is mine, I’m using it.”
Buying retro games right there in Akihabara (and why prices feel fair)
The workshop experience doesn’t stop at building. You also get access to a selection of retro games to try and buy.
A few key details worth knowing:
- There’s time to choose at least one game, and you can buy more
- Games are available in both Japanese and international options (so you’re not limited to only one flavor)
- Multiple people say the pricing is better than what they saw at other Akihabara stores
One comment specifically compares pricing to Super Potato, with the workshop games reported as about 40% less for the same titles. That doesn’t mean every game is always cheaper, but it strongly suggests the workshop is trying to be reasonable—not just selling a premium class.
If you hate the idea of hunting for cartridges after you finish your building, this is a practical advantage. You get the console, then you can immediately start playing.
The $360 price: is it worth it, or just nostalgia markup?
At $360 per person, this is not a bargain workshop. The real question is what you get for that money.
You’re paying for:
- A small-group build environment (up to 4)
- Expert guidance in English/Japanese
- A structured process that includes history + hands-on disassembly/rebuild
- Provided parts and customization options (like screen and button selections)
- The finished, working Game Boy you take home
- Access to games to try and purchase on site
Also, retro hardware is hard work. You need enough systems in serviceable condition to run the class repeatedly, and you need staff who can handle the mechanical side without turning it into a “good luck” situation. The feedback on smooth guidance and quick help with snags points to real overhead.
So yes, it’s pricey. But it’s also closer to an engineering hobby session than a typical tourist workshop. If you value making something functional and personal, the cost starts to make sense.
Who should book this workshop (and who should consider skipping)
This fits best if you’re at least one of these:
- A Game Boy fan who wants more than shopping
- Someone who likes electronics, tinkering, or learning how devices work
- A traveler who wants a small-group activity that feels personal
- A parent planning a retro-tech outing for a teen (people mention kids around 10 to 14 having a great time)
It’s also great for solo travelers. People describe it as easy to do solo because the build is guided and you’re not competing for attention.
Who might skip it:
- If you need step-free access: it’s on the second floor of Wakita Building with no elevator/escalator.
- If you dislike hands-on work entirely and only want passive sightseeing, you might find it too active. This class asks you to build.
Before you go: simple tips so you enjoy every minute
A few practical things to keep in mind:
- Plan for stairs. Since it’s on the second floor with no elevators, arrive with time to get there calmly.
- Wear comfortable clothes. You’ll be leaning over your work area for a while.
- Decide your vibe early. If you’re torn between styles, choose based on how you’ll want to look at the final Game Boy every day.
- If you care about games, set aside budget for cartridges on site. The workshop makes it easy to leave with games already matched to your interests.
Should you book the Gameboy Mod Workshop in Akihabara?
If you want one Tokyo experience that you can hold, use, and remember—not just photograph—this is a strong pick. You get real customization, hands-on assembly, a short tech/history lesson, and a working console that becomes your souvenir of the trip.
I’d book it if:
- You love retro gaming and want your Game Boy to play well after you get home
- You like small-group activities where staff help you actually finish
- You want a practical souvenir that’s more fun than another branded item
I’d hesitate if:
- Stairs are a problem for you
- You don’t want hands-on work at all
If neither of those is your situation, this is one of the more satisfying “Tokyo weird in the best way” activities you can do.
FAQ
How long is the Gameboy Mod Workshop in Tokyo?
The workshop lasts 2 hours.
What’s the price for the workshop?
It’s $360 per person.
How many people are in each group?
The group is small, limited to 4 participants.
What languages do the instructor and staff speak?
The instructor and staff support English and Japanese.
Where do I meet for the workshop?
Meet at the workshop located on the second floor of Wakita Building. Follow the address you receive to find it.
Is the workshop wheelchair accessible?
It is not wheelchair accessible, because it’s on the second floor and there are no elevators or escalators.