REVIEW · TOKYO
Tokyo: Calligraphy Workshop & Original T-Shirt Creation
Book on Viator →Operated by Local Guide Stars · Bookable on Viator
Handwriting becomes wearable art.
In this Tokyo calligraphy workshop, you turn your name into kanji with a professional instructor, then use what you learned to create a personalized calligraphy t-shirt souvenir. It’s designed for a small-group setting, so you’re not stuck watching from the back.
I especially like that everything is provided, so you can show up without hunting down paper, brushes, or ink. The only real catch to budget for: the actual original t-shirt is an add-on at ¥4,000 per person.
In This Review
- Key Things I’d Mark on Your Tokyo Calligraphy Checklist
- Turning Your Name into Kanji on a T-Shirt in Tokyo
- Price, What You Get, and the Real Cost of the T-Shirt
- Step-by-Step: From Workwear to Your Finished Kanji
- 1) Meet up and get oriented
- 2) Change into traditional workwear
- 3) Grind an inkstick and make ink
- 4) Learn basic brush techniques
- 5) Transform your name into kanji
- 6) Write on a T-shirt and design your piece (optional)
- 7) Take your artwork home
- The Inkstick Moment: Why This Part Feels Different
- Your Teacher and the English-Supported Coaching
- Group Size, Studio Vibe, and Who Should Go
- Tips to Get Better Fast (Without Feeling Awkward)
- Where to Meet in Shinjuku and How to Plan Your Time
- Should You Book This Tokyo Calligraphy T-Shirt Workshop?
- FAQ
- How long is the Tokyo calligraphy workshop?
- What is included in the price?
- Does the workshop include the original t-shirt?
- Do I need to bring any materials?
- Is the workshop available in English?
- Can I cancel and get a refund?
Key Things I’d Mark on Your Tokyo Calligraphy Checklist
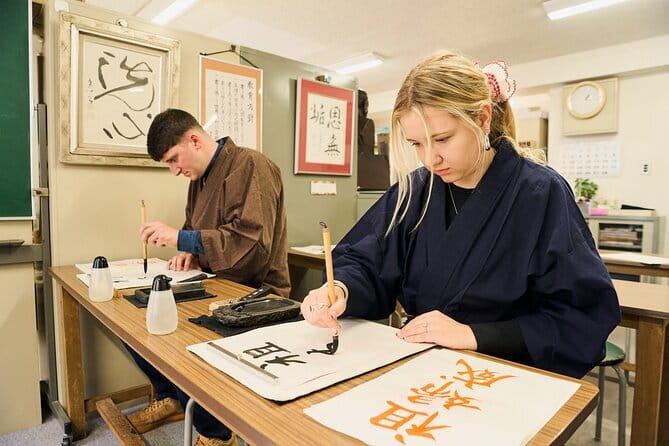
- Your name becomes kanji: you practice until your characters look like they belong together.
- Authentic in-class tools: you’ll use calligraphy supplies provided for the session.
- Inkstick grinding is part of the lesson: you make real ink and get that slow, focused rhythm.
- Brush technique comes first: you practice basic strokes before writing on your final piece.
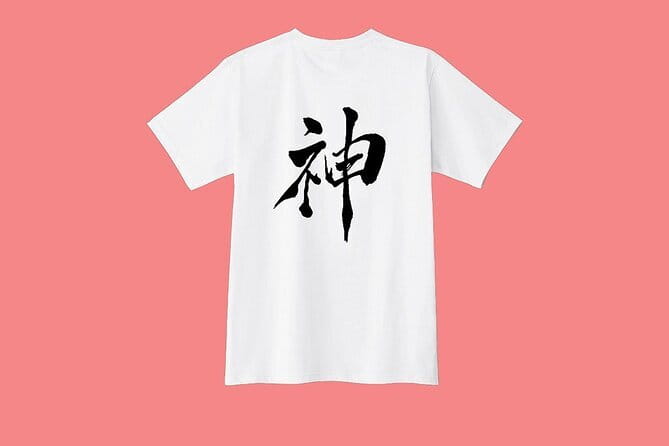
- T-shirt personalization is optional but doable: write your kanji on a T-shirt and design your own original layout.
- English guidance is built in: the guided experience is supported with an English-speaking host.
Turning Your Name into Kanji on a T-Shirt in Tokyo
If you want a Tokyo activity that feels quietly special (not just another photo stop), this is a strong bet. You’re working with an ancient art form, but the format is very practical: you learn the strokes, you apply them, and you walk out holding something you made.
The “one-of-a-kind” part matters. A calligraphy souvenir isn’t just decorative. It’s personal—your name, translated into kanji-style writing, created by your hand with a teacher correcting your brush angle and pacing. That’s the difference between buying a pre-made memento and taking home something you actually learned.
And because the group is capped (small-group style), you get more coaching when your strokes wobble. That’s when calligraphy stops feeling mysterious and starts feeling manageable.
You can also read our reviews of more tours and experiences in Tokyo



Price, What You Get, and the Real Cost of the T-Shirt
The base price is $33.03 per person for about 2 hours. For that, you get the guided instruction plus the calligraphy supplies used during class, and you take home the artwork you create.
If you want the t-shirt version, plan for the extra cost: an original t-shirt is not included and costs ¥4,000 per person. That sounds like a small add-on, but it’s the difference between getting a paper-style souvenir and getting a wearable one.
Here’s how I’d think about value: the workshop price covers the teaching and materials, while the t-shirt upgrade buys you a more unique, higher-visibility keepsake. If you’ll actually wear the result later (or frame it), it’s usually worth budgeting for the full experience.
Step-by-Step: From Workwear to Your Finished Kanji
Your session runs roughly two hours, and it follows a clear learning path. Expect a guided flow where you build from basic technique to a final, take-home piece.
1) Meet up and get oriented
You’ll meet at a FamilyMart in Shinjuku (1-chōme area), then the activity ends back at the meeting point. Since the start point is near public transportation, it’s fairly easy to plug into a day of sightseeing without major detours.
2) Change into traditional workwear
You’ll change into traditional Japanese workwear before you start. This isn’t a gimmick—it helps put you in the right mindset, because calligraphy is as much about posture and control as it is about the characters.






3) Grind an inkstick and make ink
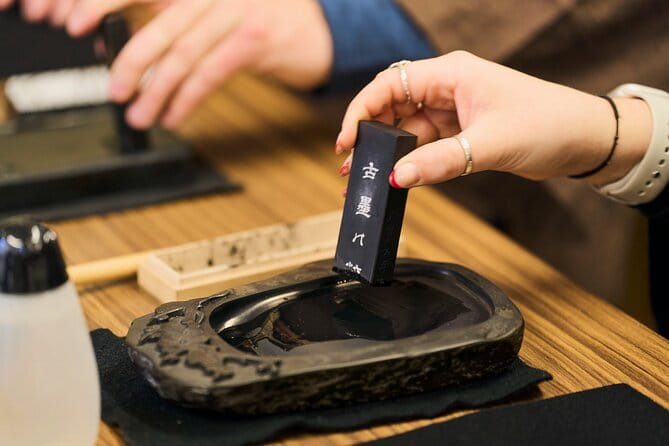
One of the standout steps is the moment where you grind a solid inkstick to create authentic ink. It slows everything down. You’re not rushing through a craft project; you’re making the medium you’ll use.
This part also helps you “feel” the ink. That matters because brush strokes behave differently depending on thickness and consistency.
4) Learn basic brush techniques
Before you tackle your name, you practice basic brush techniques. This is the smart order of operations. You’re training your wrist and brush pressure so your strokes come out more consistent, not just prettier by luck.
5) Transform your name into kanji
Then you work on converting your name into kanji and writing it in a way that looks right for calligraphy style. The teacher helps you correct details that are easy to miss at first, like stroke direction and timing.
6) Write on a T-shirt and design your piece (optional)
If you choose the t-shirt option, you’ll write your kanji directly on a T-shirt and you can design your own original layout. Some people keep it simple and clean; others add more character. Either way, you’re applying your skills to something you can actually use.
7) Take your artwork home
Your take-home artwork is included, and if you go for the t-shirt, that’s part of the final output too. This is the moment the experience turns from lesson to souvenir.
The Inkstick Moment: Why This Part Feels Different

This workshop is not just “press brush, get result.” The inclusion of an inkstick grind changes the whole tone of the class.
Inkstick grinding creates a calm, almost ritual feeling. It also acts like a warm-up for the hands and mind. You get time to settle into a steady pace before you start writing.
And because you’re making ink from scratch, it feels more connected than using a pre-filled pen or marker. You’re working with calligraphy tools the way people have for a long time, but in a way that’s explained and guided so you don’t need any prior skill.
It’s also a great moment for taking in small cultural details without turning the day into a museum lecture. You’re doing something—slow, physical, and focused.
Your Teacher and the English-Supported Coaching
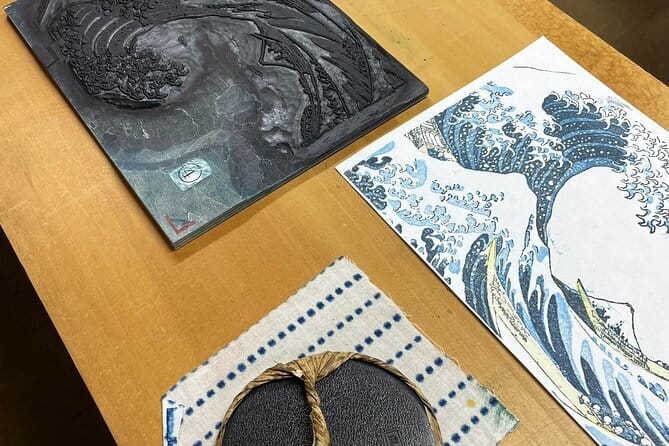
The class is led by a professional calligraphy artist, and it includes English guidance via a host. That combination is huge if your Japanese is basic or nonexistent.
Some instructors are specifically described as patient and encouraging, like Ai, who’s noted for being informative and answering questions clearly. Another teacher named Hiromi comes up as well. The consistent theme is supportive instruction—so even if you’re shaky at first, you’re not left to figure it out alone.
Also, don’t underestimate what “coached” really means in calligraphy. The difference between a miss and a near-correct stroke is often tiny: brush angle, pressure, and how quickly you move. A good teacher helps you see those adjustments fast.
If you want to feel progress within the two hours, you’ll likely get it here—especially in a small-group format where the instructor can actually watch what you’re doing.
Group Size, Studio Vibe, and Who Should Go
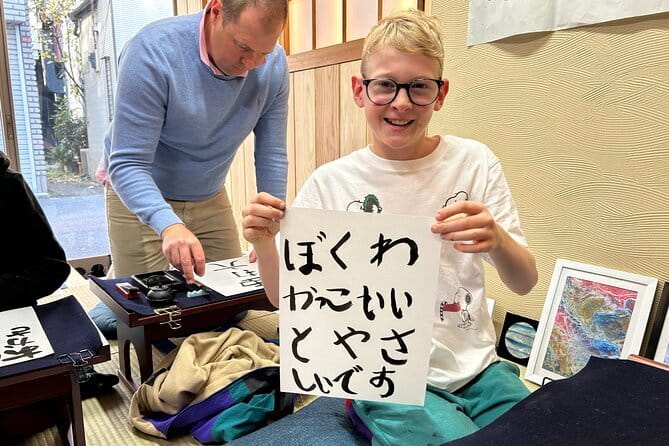
This is built as an intimate workshop. You’re looking at a small-group activity capped at six people (with the broader activity maximum listed as 12 travelers). In practical terms, that usually means more one-on-one corrections and less waiting.
The vibe from people who did the class reads like this: calm, respectful, friendly, and often described as relaxing or meditative. That’s not “just a nice feeling.” It’s useful information—if you tend to like structured, hands-on experiences with a quiet atmosphere, you’ll probably enjoy the pace.
Who it suits best:
- First-time calligraphy learners who want clear steps, not vague instructions
- People who like making a personalized souvenir (not just buying one)
- Friends and couples who want a shared activity with a real result
- Families, since the format is described as friendly and supportive in family settings
- Anyone who appreciates authentic tools and a slow, mindful craft moment
Who might find it less ideal:
- If you’re mainly chasing big landmarks and prefer sightseeing over skill-building, you might want to pair this with faster tours. This is a learning session first.
Tips to Get Better Fast (Without Feeling Awkward)
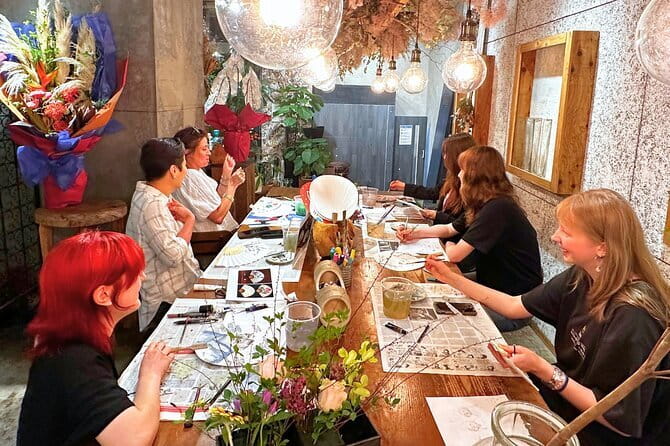
You don’t need talent. You need the right mindset for calligraphy.
Here’s what tends to help:
- Relax your grip on the brush. Tension shows up in wobbly strokes.
- Watch the instructor’s stroke start and stop. Timing is part of the character.
- Take the corrections immediately. The class is set up for quick feedback, so use it.
- Don’t aim for perfect on the first attempt. You’re practicing brush technique before the final piece for a reason.
- If you choose the t-shirt option, be clear in your plan for layout before you start writing. Once the strokes begin, you’ll want a steady focus.
If you go in expecting a quiet, guided lesson, you’ll leave feeling proud rather than frustrated.
Where to Meet in Shinjuku and How to Plan Your Time
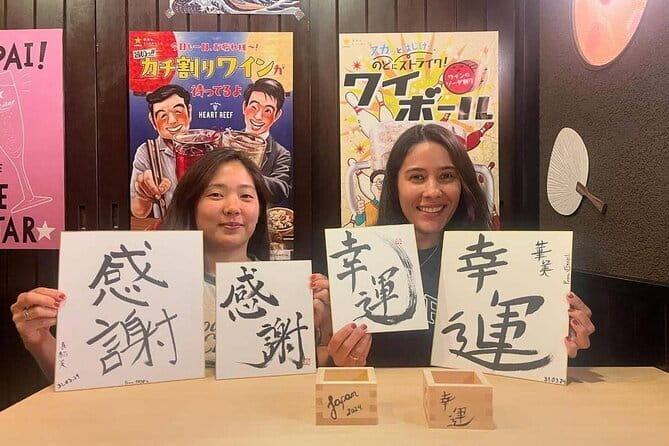
Your start point is a FamilyMart at 1-chōme-23-21 Hyakuninchō, Shinjuku City. The activity wraps up back at the same meeting place.
Because it’s near public transportation, I’d plan this workshop as part of a broader Shinjuku day. It’s long enough to feel like an experience (about 2 hours), short enough that you can still eat, shop, or roam afterward without stress.
One practical note: since the t-shirt costs extra, decide ahead of time whether you’re doing just the artwork or going full wearable kanji. That helps you avoid last-minute decisions when you’re already focused on writing.
Should You Book This Tokyo Calligraphy T-Shirt Workshop?
I think you should book it if you want a Tokyo experience that’s hands-on, personal, and guided by an actual pro—plus you want a souvenir that’s connected to your own name and effort. The value is strong because instruction and materials are included, and the result is something you can keep, use, or display.
Skip it only if you don’t care about skill-based crafts or you’re trying to keep your spending extremely tight, because the t-shirt upgrade adds ¥4,000.
If you’re the type who likes making one great thing with your hands, this workshop is an easy yes.
FAQ
How long is the Tokyo calligraphy workshop?
It lasts about 2 hours.
What is included in the price?
Your price includes calligraphy supplies, an expert calligraphy artist, and your take-home artwork.
Does the workshop include the original t-shirt?
No. The original t-shirt costs ¥4,000 per person and is not included in the base price.
Do I need to bring any materials?
No. You don’t need to bring materials because supplies are provided.
Is the workshop available in English?
Yes. The experience includes an English guided component with an expert host.
Can I cancel and get a refund?
Yes. Cancellation is free up to 24 hours before the start time for a full refund. If you cancel within 24 hours, the amount paid is not refunded.