REVIEW · TOKYO
Blade Runner photo workshop in Shibuya with Laurence Bouchard
Book on Viator →Operated by Laurence Bouchard · Bookable on Viator
Neon Shibuya turns into your studio after dark. This workshop pairs Shibuya at night energy with award-winning street photographer Laurence Bouchard’s panning shots know-how, so you leave with more than selfies.
I especially like the practical way the session starts with camera settings, then turns into real shooting time at iconic spots like the Shibuya Crossing. You’ll also get guidance that works whether you’re using a dedicated camera or just a phone. One thing to watch: if you book during Japanese holidays, some locations may be harder to access or not as well lit.
In This Review
- Key Highlights You’ll Care About
- Neon Tokyo at 7:30 pm: Why Shibuya Works So Well
- Meet Laurence Bouchard and Get the Teaching Style Right Away
- Your 2-Hour Game Plan: What Happens When the Lights Come Up
- The Settings Chat: How to Stop Guessing at Night
- Shibuya Crossing Panning: The Technique That Makes Neon Look Cinematic
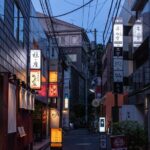
- Side Streets and Neon Angles: Where the Real Photos Are Made
- Blade Runner Style Without the Costume: Translating the Look
- Practical Notes: Gear, Walking, and What to Wear
- Price and Value: Is $97.98 Worth It?
- Who Should Book This Workshop
- Should You Book This Shibuya Blade Runner Photo Workshop?
- FAQ
- What time does the workshop start?
- How long is the Blade Runner photo workshop?
- Where do we meet for the workshop?
- How many people are in the group?
- Do I need a specific camera to join?
- Is the workshop mobile-ticket based?
- Is there free cancellation?
Key Highlights You’ll Care About
- Small group, max 6 people so you get real attention instead of generic tips
- Laurence Bouchard’s long Shibuya experience (10+ years) for smarter photo positioning at night
- Shibuya Crossing panning practice to capture motion without losing your subject
- Settings help that adapts to your gear, including camera brands and even phone cameras
- Blade Runner–inspired photo routes built around neon lines, angles, and street-level energy
- 2 hours is focused, not a long slog through Tokyo after dark
Neon Tokyo at 7:30 pm: Why Shibuya Works So Well
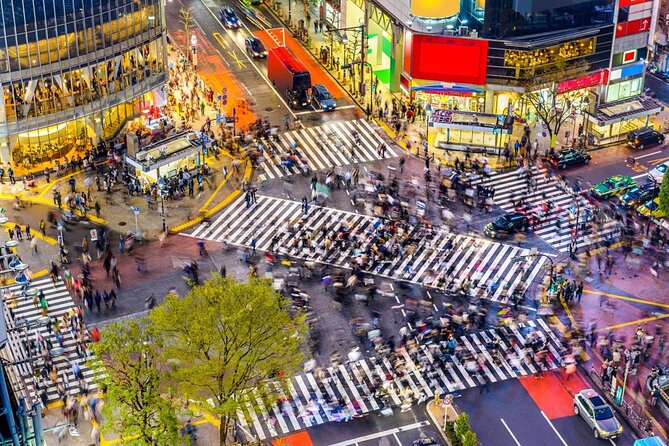
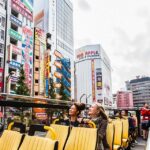
Shibuya at night is made for photography. You get layers: bright signs, headlights sliding through crosswalks, reflections on the street, and crowds moving fast enough to create motion. The trick is learning how to turn all that chaos into frames with shape and intent.
This workshop is timed for that sweet spot. Starting around 7:30 pm means you’re not shooting in total darkness, and you’re also not stuck with empty streets. You’ll also spend your time where the light is actually doing something. Instead of wandering randomly, you follow a route designed for night photography and street composition.
What I like about the approach is that it treats the neighborhood like a lighting set. You’re not just there to admire neon. You’re learning how to use it—how to expose for the scene, how to keep highlights under control, and how to make motion look cool instead of messy.
You can also read our reviews of more tours and experiences in Tokyo



Meet Laurence Bouchard and Get the Teaching Style Right Away
The workshop is led by Laurence Bouchard, a street photographer who’s been shooting Shibuya for over 10 years. That matters more than it sounds. Night photography is full of tradeoffs: where you stand changes your framing and your exposure, and sometimes one street corner is the difference between readable neon lines and a blown-out mess.
Laurence’s teaching style, based on what the workshop is built to do, is practical. He starts with a settings chat, then moves you into the action—panning practice first, then guided location changes so you’re not stuck guessing.
Another detail I like: the instruction isn’t one-size-fits-all. Past participants have noted Laurence adapts explanations to different camera brands, and he can help phone users too. That makes the workshop feel fair and usable. You’re not wasting time feeling left behind because you didn’t bring the “right” gear.
Your 2-Hour Game Plan: What Happens When the Lights Come Up
This is a tight session: about 2 hours total. It’s long enough to learn a method and apply it, but short enough that you’re not exhausted before you get results. The format also keeps the group moving together, which is important at night when it’s easy to get separated or lose track of what you were trying to capture.
You’ll meet at the Cerulean Tower Tokyu Hotel (26-1 Sakuragaokachō, Shibuya, Tokyo 150-8512). Then you head out on foot through Shibuya’s night scenery.
The session flow is basically:
- A quick camera settings briefing
- A stop at the Shibuya Crossing area for panning shots
- A move to locations Laurence knows that fit neon street photography
- Back to the start point to finish
Even without a super formal “every stop is exactly X minutes” schedule, the pacing is designed around learning by doing: technique first, then location-based practice.
The Settings Chat: How to Stop Guessing at Night
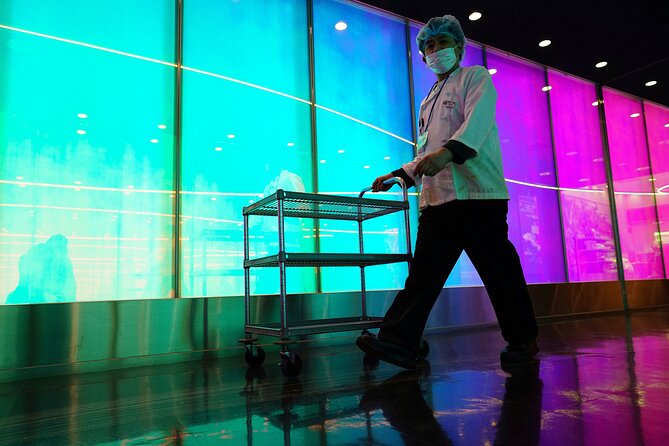
Night street photography often breaks people for one reason: they don’t know which knob to turn. A bright sign can trick your meter. Moving subjects can force slower shutter speeds. Dark shadows can swallow detail.
The workshop begins with a brief talk on camera settings so you can leave with a few solid options rather than a pile of theory. The goal is that you can walk away understanding what to try when the scene changes—because Shibuya changes constantly.
What you should take from this part is not memorizing numbers. It’s learning what each setting is doing for your specific goal:
- If you want motion blur but still want a recognizable subject, you’ll likely lean toward slower shutter speeds and a controlled stance.
- If the frame is too bright from neon, you may need to adjust exposure so highlights don’t completely blow out.
- If the frame is too dim, you may need to accept some blur or use a higher ISO strategy—so the image looks intentional instead of underexposed.
Also, because Laurence has to work with different cameras, the settings talk is meant to be usable for what you have in your hands. People have mentioned that guidance works even with iPhone cameras, which is useful if you’re not carrying a full kit.
Shibuya Crossing Panning: The Technique That Makes Neon Look Cinematic
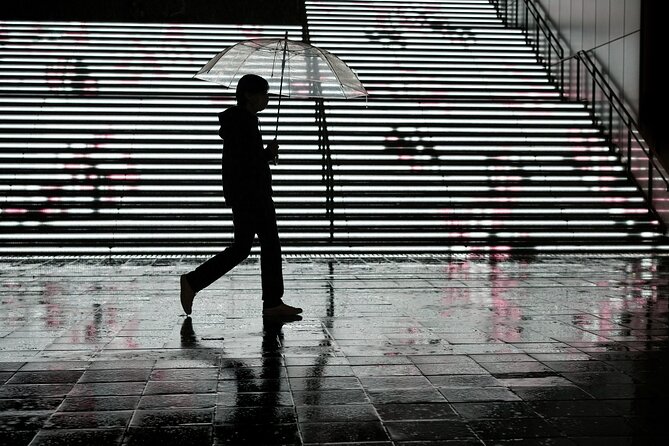
The first major practical moment is at the world-famous Shibuya Crossing. This is where the workshop turns into motion design.
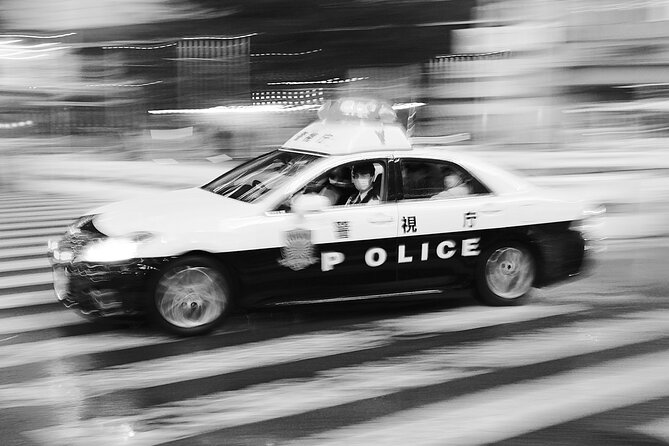
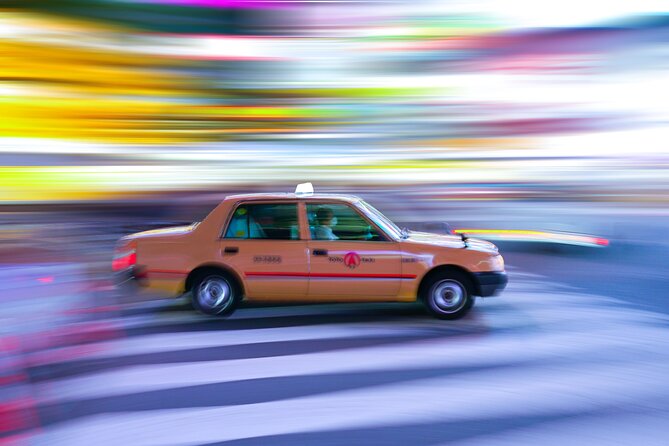
You’ll focus on panning shots, which are basically a controlled sideways swing of the camera while tracking a moving subject. Done right, it keeps the subject more readable while the background smears into neon streaks. Done wrong, the whole frame looks like blur soup.
Why the Crossing is a smart classroom:
- The action is constant, so you can practice multiple attempts quickly.
- The light is high-contrast, so you can see whether your shutter speed and tracking are working.
- The subject movement is predictable enough to learn the rhythm.
You don’t need to be an action-hero photographer to benefit. The technique is learnable fast, especially when you have an instructor showing what to aim for and helping you adjust.
If you want a Blade Runner–style vibe, panning is one of the fastest ways to get that “speed in the city” feeling without needing heavy post-processing.



Side Streets and Neon Angles: Where the Real Photos Are Made
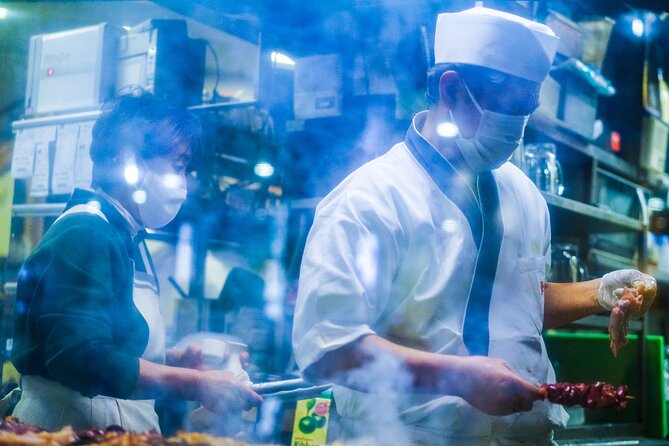
After the Crossing practice, the workshop moves into locations Laurence has discovered—places that fit the graphic look people want from night street photography. The key phrase here is hidden side streets and unique spots only your guide knows about.
In practice, that means you’re looking for:
- Clean composition lines (signs, rails, building edges)
- Layers of light that add depth
- Corners where reflections make the street look brighter than it actually is
- Angles that separate your subject from busy clutter
This is where the workshop can feel like a cheat code. Shibuya is crowded, and if you walk on your own you’ll often end up shooting the same “postcard” views. A guide who knows the best angles at night helps you spend time where your photos are more likely to look intentional.
One more thing: multiple participants have said Laurence is good at pointing out the vibe of Shibuya through locations and angles. That’s not just aesthetic. It’s practical coaching on framing and perspective, so you stop thinking, Where should I stand? and start thinking, What does this scene want me to capture?
Blade Runner Style Without the Costume: Translating the Look
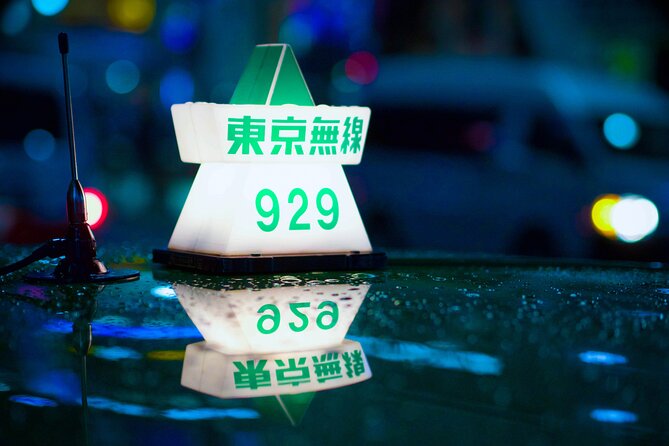
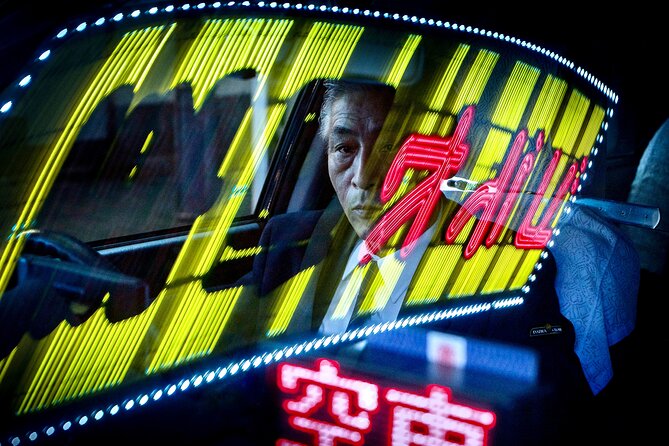
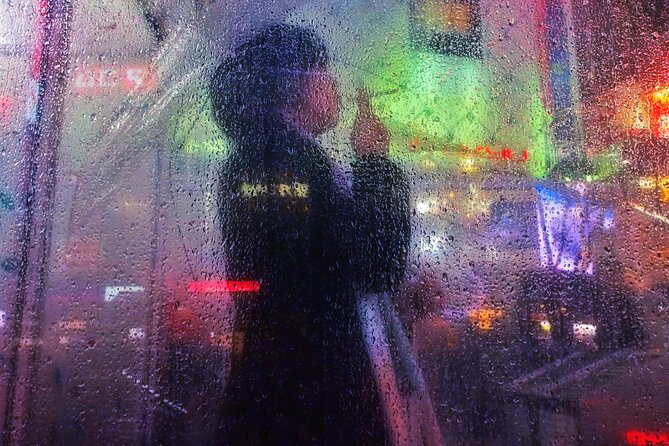
You’re going for Blade Runner–inspired night shots. That doesn’t mean you’re filming in a sci-fi set. It means you want a cinematic street look: neon glow, motion, strong lines, and a gritty-but-readable city feel.
Here’s how that style usually shows up in your final images after this kind of workshop:
- Neon color control: you learn to expose so signs look bright but not nuclear
- Motion that tells a story: panning and street action blur that feels like speed, not failure
- Graphic composition: bold shapes from buildings, signage, and crowds
- Layered depth: foreground reflections and background lights that make the frame feel busy in a good way
Even if you’re not using film, the “film look” idea can still guide your choices: lower contrast control, disciplined exposure, and motion handling.
Practical Notes: Gear, Walking, and What to Wear
This workshop is designed for moderate physical fitness. That means you should be ready to walk around Shibuya at night and keep moving between shooting points. Shibuya is not a “sit and learn” city tour at night.
Gear-wise, there are two realities:
- If you have a camera, you’ll get the most out of the settings talk.
- If you’re using a phone, it’s still possible to get good results because Laurence has experience teaching people with different equipment.
So bring whatever you can comfortably use for 2 hours without stressing. Night photography is already demanding—your best “gear” is the camera you won’t be afraid to raise and try again.
For clothing, think practical. Night shooting can mean cooler temperatures and a lot of standing still for composition. Wear shoes that won’t turn your feet into a distraction during the panning practice.
Price and Value: Is $97.98 Worth It?
At $97.98 per person for roughly 2 hours, the price isn’t low. But it can be good value if you want results fast and you’re learning from someone who already knows how Shibuya photographs at night.
Here’s why the value can be legit:
- Small group size (max 6): less time waiting, more time getting help
- One pro guide with deep local familiarity: this reduces trial-and-error
- Technique teaching plus immediate application: you’re not just walking around looking at lights
- Support across gear types: camera users and phone users can both get guidance
Where you might feel the price is too high is if you’re already highly confident with night exposure and panning. If you already know exactly which shutter speed and tracking style you want, you may rely more on location scouting than instruction. But most people benefit from having someone translate the chaos into repeatable choices.
Also, the workshop has a strong track record: it’s rated 4.9 with 100% recommended in the summary you provided. That doesn’t guarantee your experience, but it does suggest the format consistently lands well.
Who Should Book This Workshop
This workshop is a great fit if you:
- Want better night photos fast instead of learning by random trial
- Are interested in street photography and like the idea of cinematic neon city frames
- Want to practice panning with guidance, not just read about it
- Have a camera or a phone and want instruction that matches your gear
- Like walking and shooting in a dense, lively area like Shibuya
It’s also a good choice for someone who wants a guided way to see Shibuya at night without building a whole plan from scratch.
If you hate crowds or you don’t enjoy walking at night, you may find Shibuya’s energy more exhausting than fun.
Should You Book This Shibuya Blade Runner Photo Workshop?
Book it if you want a structured way to capture Shibuya’s neon look with real technique. The combination of Laurence Bouchard’s Shibuya expertise, the Shibuya Crossing panning practice, and the focus on locations that create strong night compositions is what makes this feel worth your time.
Skip or rethink it if you’re planning to go during Japanese holidays, when some locations may be less accessible or not as well lit. Also consider passing if your goal is purely “touristing” and you don’t want any technical coaching at all.
If you’re undecided, a practical way to decide is this: if you want photos that look designed rather than accidental, this workshop gives you a clear path to get there in 2 hours.
FAQ
What time does the workshop start?
It starts at 7:30 pm.
How long is the Blade Runner photo workshop?
It lasts about 2 hours.
Where do we meet for the workshop?
Meet at Cerulean Tower Tokyu Hotel, 26-1 Sakuragaokachō, Shibuya, Tokyo 150-8512, Japan.
How many people are in the group?
The workshop has a maximum group size of 6 travelers.
Do I need a specific camera to join?
No. The session includes camera settings help, and guidance can work for different setups, including participants using a phone camera.
Is the workshop mobile-ticket based?
Yes. It includes a mobile ticket.
Is there free cancellation?
Yes. You can cancel up to 24 hours in advance for a full refund.
If you tell me what camera/phone you plan to use and what kind of Blade Runner look you want (motion blur, sharp neon portraits, or graphic street lines), I can suggest a simple settings plan to try before you arrive.