REVIEW · TOKYO
Authentic Japanese calligraphy class in Tokyo! Kanji your name
Book on Viator →Operated by MAKI Japanese Calligraphy · Bookable on Viator
Write your name in kanji, the old way. This private Japanese calligraphy lesson is one of the easiest, most personal ways to understand why shodo matters in everyday Japanese culture. I especially like the one-to-one instruction and the home setting, where the focus stays on your brushwork, not on screens.
In about 90 minutes, you’ll learn the basic tools and how to hold the brush, then write your own word or character on traditional paper. You’ll come away with something you can actually hang up, not just a souvenir you’ll forget in a drawer.
One thing to consider: this is a lesson in a local’s home, so you’ll want to be comfortable following the instructor’s pace and rules about materials and handling ink and paper.
In This Review
- Key Highlights You’ll Care About
- Why This Tokyo Calligraphy Class Feels Personal (Not Performative)
- Finding the Right Spot Near Yoga Station (and Not Stressing It)
- Tools, Posture, and Writing Systems: The Stuff You Need Before You Paint
- Your Name in Kanji: What You’ll Write on Traditional Paper
- What “take it home” really means
- One-to-One Instruction With Maki: Clear English, Step-by-Step Patience
- Price and Value: Is $56 Reasonable for 90 Minutes?
- The Best Way to Prepare (So Your Strokes Look Better Fast)
- Who This Class Is For (and Who Might Skip It)
- Quick Itinerary Walkthrough: What Happens in Each Part
- Should You Book This Kanji Your Name Lesson?
- FAQ
- How long is the Japanese calligraphy lesson in Tokyo?
- Is this experience private or shared?
- Where does the class meet?
- What can I make during the lesson?
- What’s included in the price?
- Do I take my calligraphy creations home?
- Is transportation included?
- What if I need to cancel?
- Is the class suitable for most people?
Key Highlights You’ll Care About
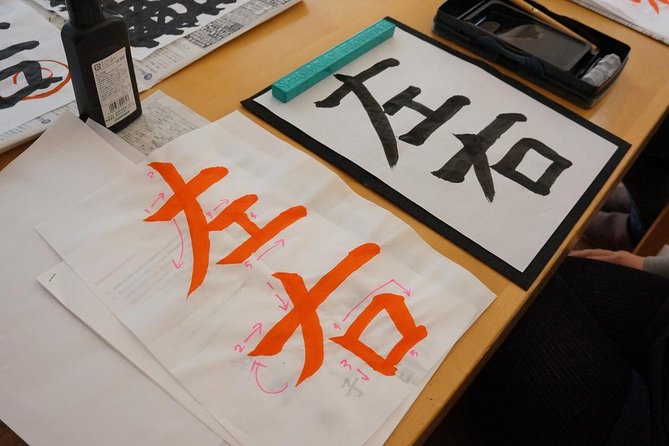
- One-to-one shodo guidance so you can correct posture and brush grip in real time
- An atmospheric local home setting rather than a studio with generic supplies
- You take your work home on traditional paper, with included practice materials
- Clear, patient instruction in very good English with step-by-step repetition when needed
- Tools and paper are included so you can show up and start immediately
Why This Tokyo Calligraphy Class Feels Personal (Not Performative)
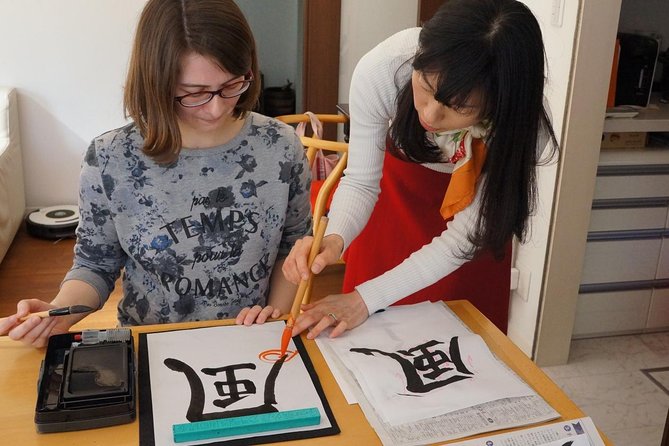
Japanese calligraphy, or shodo, looks simple from far away: a brush, black ink, and a character that somehow feels alive. Up close, it’s all about control—pressure, speed, and the shape of each stroke. That’s exactly why this kind of class works so well in Tokyo. You’re not just learning what to copy; you’re learning how to move.
The biggest difference here is the private format and the setting. Instead of a classroom routine, you’re taught in an instructor’s home. That changes the tone. Questions feel easier. Mistakes feel normal. And the lesson stays practical, because you’re sitting with the person who’s actually teaching the art.
Another thing I like: you get context without turning it into a lecture. You cover writing systems and calligraphy tools, plus posture and brush handling. That’s the stuff that makes the strokes make sense. Once you understand the basics, the rest is repetition and adjustment—exactly what private time is good for.
You can also read our reviews of more tours and experiences in Tokyo



Finding the Right Spot Near Yoga Station (and Not Stressing It)
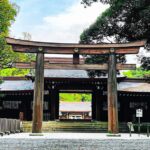
The meeting point is near Yōga Station (Yoga, Setagaya City). That’s helpful because this isn’t “out in the countryside.” You can plan to arrive by public transportation and not build your whole day around one tricky taxi trip.
From there, the experience runs with a reference to Yoga Shrine as a nearby point. In practice, what matters to you is having an easy-to-follow meeting location and a realistic plan to show up on time. Calligraphy lessons don’t work well when you’re rushing or flustered—ink and paper are patient, but your strokes aren’t.
Also note the lesson ends back at the meeting point. That means you don’t have to figure out a complicated second transfer. If you’re building a day around this, treat it like an appointment: show up, learn, create, head out when you’re done.
Tools, Posture, and Writing Systems: The Stuff You Need Before You Paint
This class doesn’t jump straight into finishing a character. You start with the fundamentals that actually determine how your result looks.
Here’s what you can expect to cover:
- Different writing systems (so you understand what you’re doing and why)
- Calligraphy tools (and what each tool is for)
- Correct posture (so your arm and hand move smoothly)
- How to hold the brush (grip affects every stroke)
- Practice paper and supplies for getting your lines right
Posture may sound boring until you feel the difference. When your body is set up correctly, your wrist and fingers stop fighting you. Strokes look more controlled. Curves stop wobbling. You don’t have to “be artistic” in advance—your body mechanics do a lot of the work.
And because this is hands-on, you’ll learn by trying, correcting, then trying again. You’ll likely hear the same key technique more than once, which is not a flaw—it’s how muscle memory starts.
Your Name in Kanji: What You’ll Write on Traditional Paper
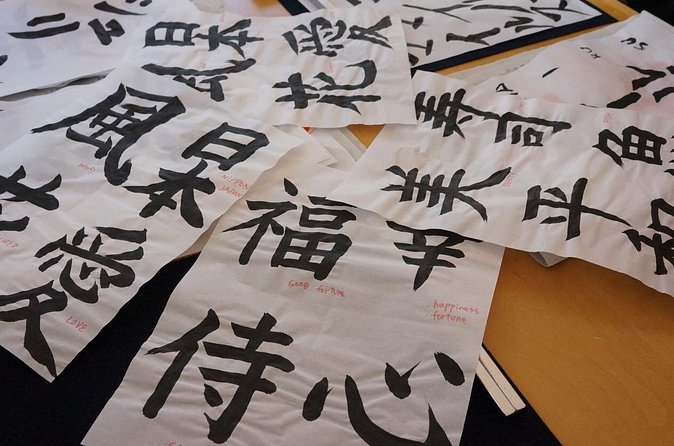
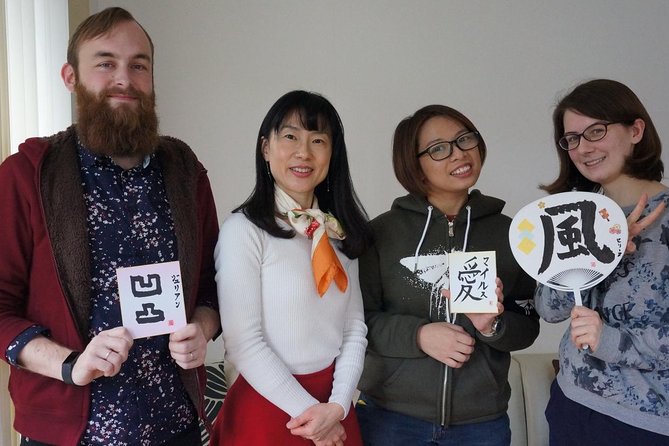
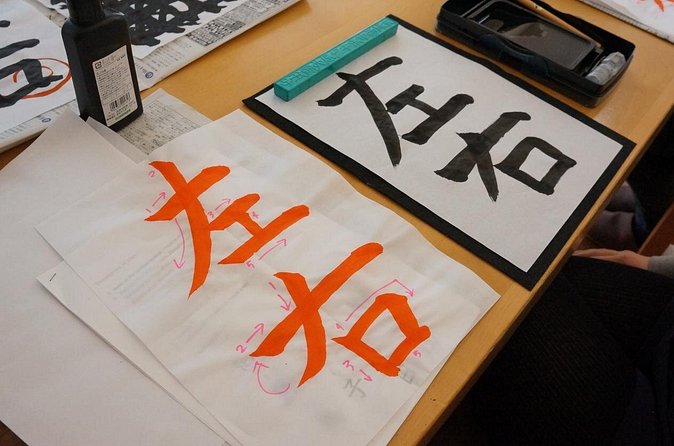
The whole point of “Kanji your name” is that you leave with a real piece of calligraphy. You’ll be able to write a word or character on Japanese traditional paper, using what you learn during the lesson.
That matters because calligraphy isn’t like a typical craft where the “value” is just the finished object. The value is the skill you pick up in the process. By the time you put your own character on paper, you’ve already learned how ink behaves, how strokes start and stop, and how to get clean edges.
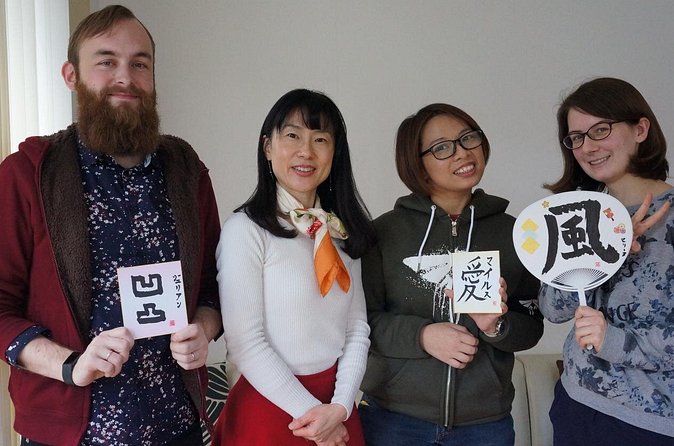
You also get colored paper (or a fan) included. That’s useful because it gives you options for how you frame or present your piece later. Even if you’re not sure what you’ll do with it at home, having the right paper materials makes the output feel complete.
What “take it home” really means
This isn’t a class where the best work gets put away while you watch. You write your own calligraphy creations and bring them with you. It’s a practical souvenir that doesn’t feel random.






One-to-One Instruction With Maki: Clear English, Step-by-Step Patience
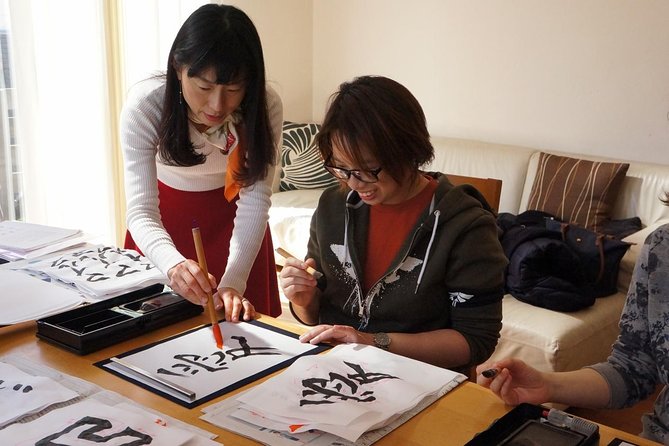
The teaching style is the standout. The instructor, Maki, is described as speaking very good English, and explaining techniques carefully. What you want in a beginner-friendly activity is someone who can slow down without making you feel slow.
In a private lesson, you also get repetition targeted to you. If a stroke isn’t landing the way it should, you don’t just get a general tip—you get the same core point again, with small adjustments. That’s why people come away feeling like the process is learnable, not mystical.
A few additional touches show up in the experience: for example, there can be drinks for you to try during the lesson. It’s a small thing, but it makes the home setting feel warm and welcoming rather than overly formal.
And if you’re coming to mark an occasion, you should know that Maki has prepared something special for a surprise birthday. I can’t promise what you’ll receive for every celebration, but it’s a good sign that she’ll treat the moment with care when you tell her your reason for coming.
Price and Value: Is $56 Reasonable for 90 Minutes?
At $56 for about 1.5 hours, this is priced like a real lesson, not a rushed tourist workshop. And the included materials help a lot.
What’s included:
- Experience fee
- Calligraphy tool
- Colored paper (or a fan)
- Paper for practice and consumable supplies
- Consumption tax
What’s not included:
- Private transportation
So the value comes from three places. First, you’re paying for instruction time, not just a finished page. Second, the class includes tools and paper, which means you don’t waste time or money hunting supplies. Third, the lesson format is private, so you get a personal pace.
If you compare this to doing a DIY calligraphy kit back in your hotel, the difference is clear. Ink control and stroke shape are hard to self-teach. A private teacher can correct the one mistake that’s ruining your whole character. That kind of feedback is what turns a “craft” into a skill.
The Best Way to Prepare (So Your Strokes Look Better Fast)
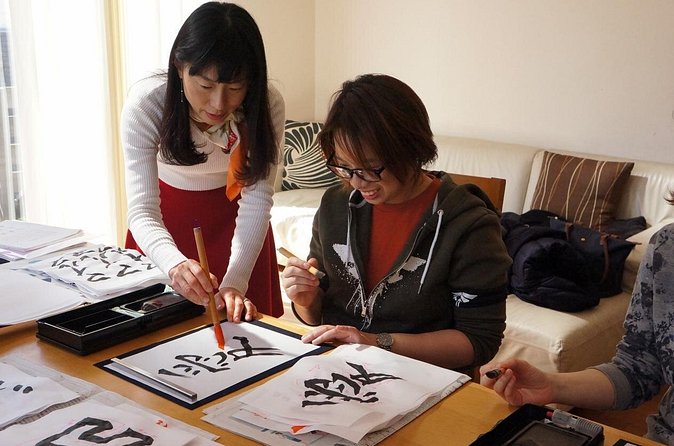
You don’t need artistic talent. You do need a calm mindset. Calligraphy is methodical, and the best results come when you stay relaxed through practice.
Here are practical prep tips based on the way the lesson is taught:
- Wear sleeves that are easy to move (you’ll be using your arm and hand a lot)
- Plan to arrive a bit early so you’re not rushing before posture and grip instructions
- Expect to try strokes more than once—this is part of the lesson
- If you have a specific character or word in mind, be ready to share it so you can write it on the traditional paper
If you’re sensitive about mess, keep in mind that ink and paper are part of shodo. The class includes supplies, but your clothes and hands may need a little extra care. The good news: because you’re learning the correct tools and technique, your mess risk usually drops once you’re coached.
Who This Class Is For (and Who Might Skip It)
This is a great fit if you want:
- A cultural activity you can actually do (not just watch)
- A beginner-friendly introduction to shodo fundamentals
- A private class that moves at your pace
- A meaningful souvenir you’ll keep
You might consider a different type of activity if you:
- Want a quick, high-output craft with minimal instruction
- Prefer a large-group workshop format
- Are uncomfortable with a home setting where the lesson follows the instructor’s rules
If you’re traveling with a partner or friends, private doesn’t mean you’ll be overwhelmed. It just means you get more attention. One-to-one also makes it easier to ask questions when you’re learning posture and brush control.
Quick Itinerary Walkthrough: What Happens in Each Part
Stop 1: Yoga Shrine (as your area reference point)
You start in the Yoga area near Yoga Shrine, with the lesson anchored around the meeting spot near Yōga Station. Think of this as your geographic starting point so you can get oriented.
Then you move to the main lesson space (the instructor’s home)
The class itself centers on a guided lesson where you learn:
- the writing systems and calligraphy tools
- posture and how to hold the brush
- how to write a word or character on traditional paper
You finish with your completed calligraphy creations and head back to the meeting point.
Even though it’s only 90 minutes, it’s structured like a real lesson: basics first, then your piece.
Should You Book This Kanji Your Name Lesson?
If you want a Tokyo experience that’s hands-on, personal, and actually productive, I’d book it. The biggest reasons are simple: private coaching, instruction in very good English, and the fact that you leave with your own calligraphy on traditional paper.
Before you pull the trigger, do these quick checks:
- Confirm you can get to the Yōga Station / Setagaya area using public transportation
- Decide what you want to write (a word or character) so you don’t lose time during instruction
- If it’s a special occasion, consider mentioning it at booking since special touches have happened before
This is the kind of class where you come away with a tangible memory and a new skill you can practice again later.
FAQ
How long is the Japanese calligraphy lesson in Tokyo?
The class lasts about 1 hour 30 minutes.
Is this experience private or shared?
It’s a private experience. Only your group participates.
Where does the class meet?
The start point is near Yōga Sta.2 Chome-39, Yoga, Setagaya City, Tokyo 158-0097, Japan.
What can I make during the lesson?
You’ll write a word or character on Japanese traditional paper.
What’s included in the price?
Included are the experience fee, calligraphy tool, colored paper (or a fan), paper for practice, consumable supplies, and consumption tax.
Do I take my calligraphy creations home?
Yes. You can take your calligraphy creations with you.
Is transportation included?
No, private transportation isn’t included.
What if I need to cancel?
Cancellation is free. You can cancel up to 24 hours in advance for a full refund. If you cancel less than 24 hours before the start time, you won’t be refunded.
Is the class suitable for most people?
The experience states that most travelers can participate.