REVIEW · TOKYO
Tokyo Photography Masterclass – Private Photography Lesson
Book on Viator →Operated by Aperture Tours · Bookable on Viator
Tokyo photography changes when someone explains it in real time. This private masterclass pairs a professional photographer guide with a local helper so you learn by shooting Tokyo, not just watching theory.
I love that the coaching is hands-on and adjustable, from first camera owners to people already using manual settings. I also love the range of subjects: Hachiko Crossing and Shibuya energy in the day, or neon streets and temple calm when night falls. The main consideration: you’ll need to bring a camera (tripods can be rented), so plan your gear before you meet.
In This Review
- Key points at a glance
- Why a 3-hour private session beats a big group
- Starting at Hachiko: the perfect place to learn framing fast
- Shibuya street photography: Hachiko energy, back streets, and real practice
- Harajuku fashion and the challenge of photographing people respectfully
- Night options in Tokyo: Shinjuku neon versus Asakusa calm
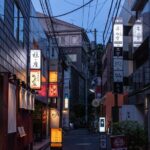
- Shinjuku at night: neon, skyscrapers, and high-contrast scenes
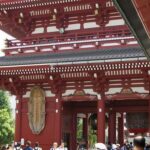
- Asakusa after dark: Senso-ji and quieter paths
- The lesson you actually came for: composition, settings, and photo review
- Composition techniques that translate instantly
- Camera settings you can control on the street
- Reviewing your photos so you improve faster
- Gear reality check: cameras, tripods, and what to rent
- Value and price: is $190 per person a good deal?
- Who should book this Tokyo masterclass
- Should you book this private lesson?
- FAQ
- FAQ
- How long is the Tokyo Photography Masterclass?
- Where does the tour start?
- Is this a private tour?
- What is the price?
- What’s included in the tour?
- Do I need to bring a camera?
- Is it suitable for beginners?
- Can I choose day or night-style shooting?
- What if my plans change and I need to cancel?
Key points at a glance
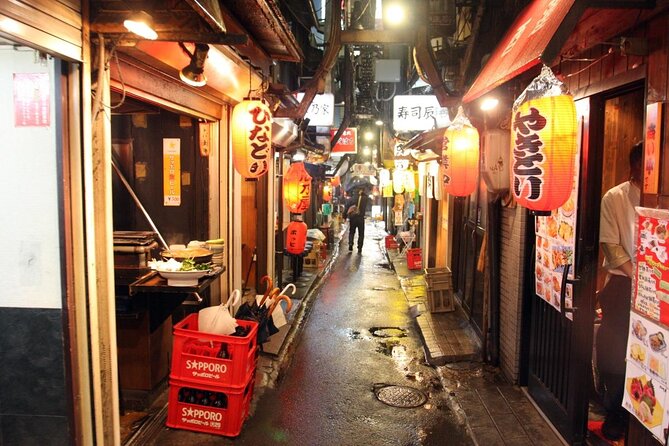
- Private lesson, customized route for what you want to photograph
- Composition coaching in street scenes like lines, repetition, texture, and angles
- Practical camera settings: aperture, shutter speed, ISO, and focusing
- Night photo options including Shinjuku neon or Asakusa and Senso-ji after dark
- Photo review and feedback so you know what to fix fast
- A friendly, experienced teacher example like Karl, who explains clearly and effectively
Why a 3-hour private session beats a big group
Tokyo is one of those cities where you can keep shooting for weeks and still feel like you’re guessing. A private lesson compresses the learning curve. In about three hours, you get time to actually photograph, then talk through what worked and what didn’t.
The biggest payoff is pacing. Instead of walking past everything while hoping inspiration hits, you practice a few key ideas and apply them immediately. You’re also not stuck with a one-size-fits-all script. The guide can steer you toward the spots you care about, whether that’s chaotic crossings or calmer temple streets.
And yes, it’s a full photo experience, not a lecture. You’ll work on how to see—composition, subject, and lighting—then convert that into camera settings you can control.
You can also read our reviews of more private tours in Tokyo
Starting at Hachiko: the perfect place to learn framing fast
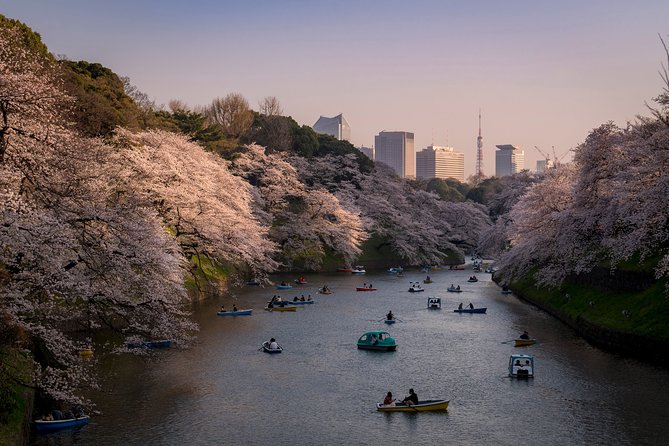
You’ll meet at the Hachiko Statue in Shibuya, a spot that’s easy to find and hard to resist photographing. It’s a smart starting point because it gives you instant variety: people moving in all directions, signage, street textures, and landmark context right away.
From the start, your session can focus on building a shooting habit: slow down for five seconds, look for shapes, then shoot with intent. This is where the course content clicks. You’ll practice composition tools like lines (streets and crowd flow), repetition (patterns in windows and storefronts), and texture (concrete, metal, and fabric details).
One small drawback with an iconic meeting point: it can be crowded. That’s actually part of the learning. You’ll get taught how to work with motion, how to choose an angle that includes the landmark without letting it swallow your frame, and how to keep your subject clear even when the scene is loud.
Shibuya street photography: Hachiko energy, back streets, and real practice
If your session leans street-focused, Shibuya is where you’ll feel the city’s tempo. Expect pedestrian energy around the famous crossing area, plus opportunities to move away from the main flow into quieter back streets.
This is where the lesson’s composition coaching turns useful:
- Angles: If you shoot at eye level, everything looks flat. Your guide can help you test higher and lower viewpoints.
- Subject control: Tokyo is cluttered. You learn how to pick one subject and let the rest soften or step back.
- Lighting awareness: even in daylight, shade and reflections can ruin contrast unless you account for them.
The practical value is that you’ll learn how to “read” the street. You start noticing leading lines and repeating shapes before you raise your camera. That habit carries over to every other photo spot you visit in Tokyo afterward.
Harajuku fashion and the challenge of photographing people respectfully
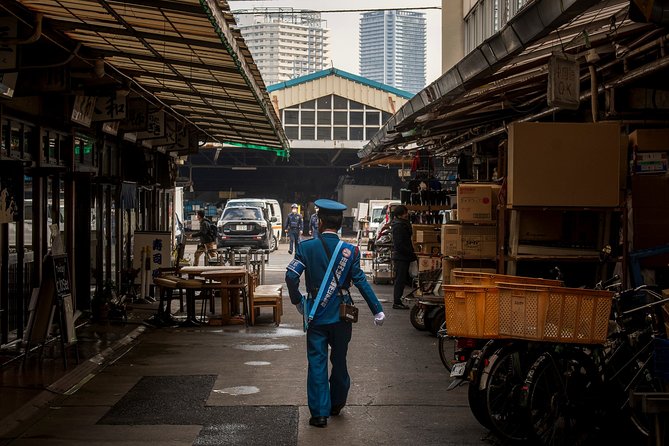
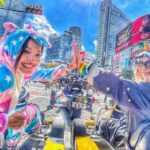
Harajuku is a great setting for learning how to photograph human style without turning it into random snapshots. The city’s youth fashion culture naturally creates strong silhouettes, bold color choices, and graphic textures—so you can practice composition without needing to find a special prop.
In a private lesson, you can take time with what interests you instead of being rushed. Your guide can help you set up shots that show fashion details while still keeping a clean frame—think: cropping tighter for accessories and fabrics, or stepping to the side to create a clearer background.
One practical consideration here: fashion scenes often include movement. Your guide can show you how to handle shutter speed choices for motion vs sharpness. That’s not just technical talk. It changes your results immediately.
Night options in Tokyo: Shinjuku neon versus Asakusa calm
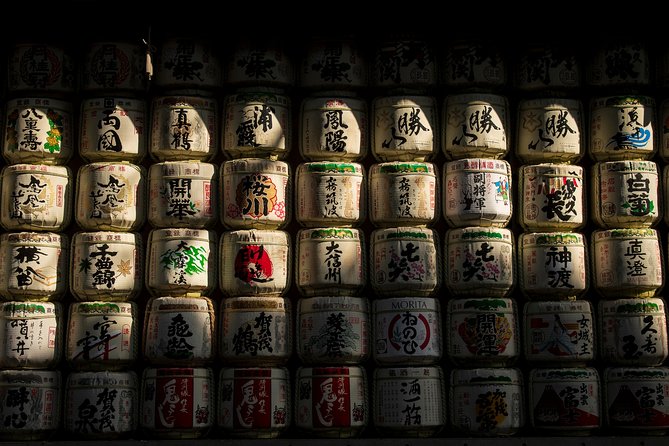
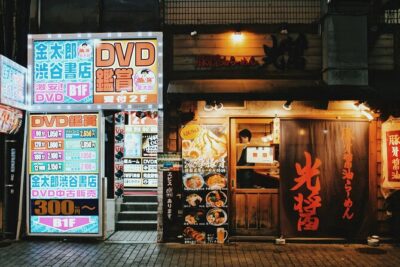
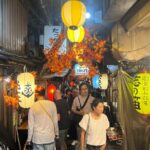
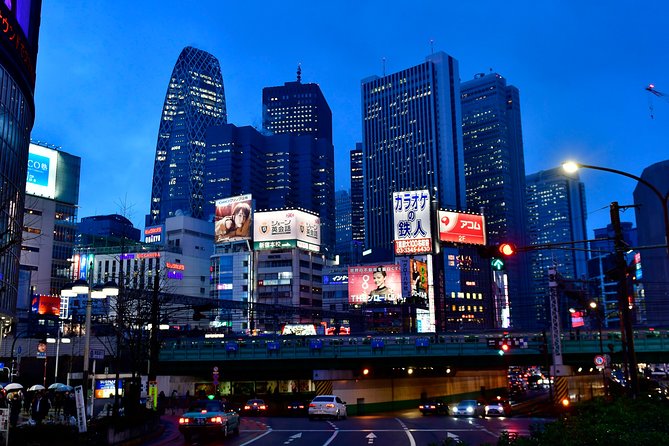
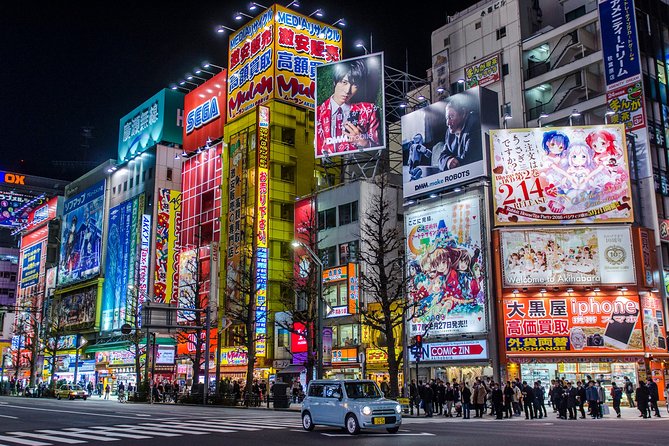
A big reason people like this masterclass is the flexibility for night photography. Depending on what you choose and what your guide thinks fits your goals, you’ll have a chance to shoot in futuristic neon areas like Shinjuku or in a calmer, temple-centered neighborhood like Asakusa around Senso-ji after dark.
You can also read our reviews of more photography tours in Tokyo

Shinjuku at night: neon, skyscrapers, and high-contrast scenes
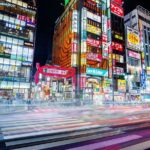
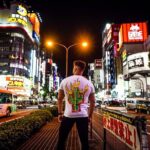
Shinjuku gives you lights everywhere. That’s fun, and it’s also tricky. Your guide can help you avoid common pitfalls, like blown highlights in signage and photos that come out too noisy.
You’ll likely practice with your camera settings so you can control the look of light:
- aperture choices that affect depth and background blur
- shutter speed choices that decide whether lights smear or stay crisp
- ISO decisions that trade sensitivity for image cleanliness
- focusing strategies so the subject stays sharp while the background glows
If you want the futuristic feel of Tokyo, this is the place where it becomes real on your memory card.
Asakusa after dark: Senso-ji and quieter paths
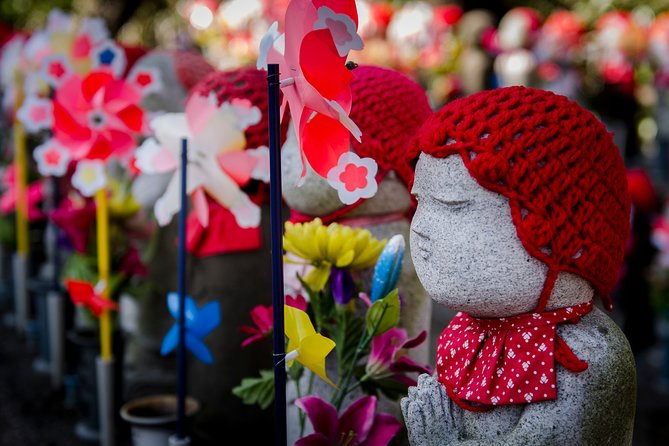
Asakusa offers a different night mood. Near Senso-ji, the atmosphere shifts. You get more moments where you can slow down and focus on subtle details—stone textures, temple architecture, and calmer walking paths.
This contrast is valuable for your learning. It teaches you that “night photography” isn’t one look. With the guide’s input, you can adjust your composition and settings for night scenes that are brighter and louder (Shinjuku) versus scenes that are darker and more grounded (Asakusa).
The lesson you actually came for: composition, settings, and photo review
The core of the masterclass isn’t only where you go. It’s what you learn to do with what you see.
Composition techniques that translate instantly
You’ll work on compositional techniques like:
- lines and how they lead the eye
- repetition and patterns
- texture that makes a scene feel tactile
- angles that change how the viewer reads depth
This matters because Tokyo can overwhelm your instincts. Composition is how you keep your images from looking like a phone photo of everything. You start turning chaos into a structure.
Camera settings you can control on the street
You’ll also cover the big four:
- Aperture
- Shutter Speed
- ISO
- focusing
Instead of treating these like random numbers, your guide connects them to the scenes in front of you. Want to freeze motion at a busy crossing? Your shutter speed becomes your tool. Want a cleaner background behind a subject? Aperture and focusing help you separate what matters from what doesn’t.
Reviewing your photos so you improve faster
One of the best parts of a structured private class is feedback while it’s still fresh. You’ll review and discuss your shots, so you understand what to change next time. That closes the loop between “I took pictures” and “I learned something.”
In at least one memorable example, the teacher Karl—described as experienced and friendly—made the explanations easy to follow and helped people see real improvement in their results. That kind of teaching style is a big deal. If you leave with new habits, not just new photos, the session is worth it.
Gear reality check: cameras, tripods, and what to rent
The tour does not include a camera. So if you’re borrowing or bringing your own kit, make sure it’s ready before you meet.
A tripod isn’t included either, but tripod rental is available. That detail matters more than it sounds. In night scenes—especially with neon lights—stability can improve sharpness and reduce the pressure to crank ISO as high.
If you don’t want to carry a tripod, that’s fine. Your guide can still teach you how to work with handheld settings. Just be aware that certain night looks tend to benefit from longer exposures.
Value and price: is $190 per person a good deal?
At $190 per person for about three hours, this is not a budget activity. But it’s also not a generic walking tour. You’re paying for a professional photographer guide, a local guide, and the focused instruction that turns random shooting into intentional practice.
Here’s how I judge value:
- You get hands-on coaching on composition and settings, not a slideshow.
- You get time to shoot, then review, so you don’t just collect images—you improve.
- You get a private format, meaning your questions and your photo goals drive the pace.
That private angle is what makes the price make sense. If you’ve ever tried to learn photography while sharing attention with a large group, you know how frustrating that can be. This format avoids that.
One more practical note: it’s commonly booked about 24 days in advance. If you’re traveling during peak seasons or you want a specific time slot, don’t wait until the last week.
Who should book this Tokyo masterclass
This experience fits best if you want structure without losing Tokyo’s freedom.
You’ll especially enjoy it if:
- you’re new and want simple explanations you can apply immediately
- you already shoot and want targeted advice on composition and settings
- you care about street photos (Shibuya, Harajuku) and also want a night option
- you like the idea of a route tailored to your interests instead of a fixed checklist
It’s also a good choice if you’re traveling with someone who wants photos but doesn’t know where to start. The private format helps both people, because the guide can adjust to the level in front of them.
Should you book this private lesson?
If you want better photos without guesswork, I’d book it. The mix of composition training, real camera settings practice, and photo review is exactly what makes a short session useful.
Skip it only if you’re looking for a casual sightseeing walk where photography is optional. This is instruction-first. Also double-check your gear needs since a camera isn’t included and a tripod may help at night.
If you’re serious about taking home images that look like you meant them, this is a strong way to spend three hours in Tokyo—and learn skills you can reuse for the rest of your trip.
FAQ
FAQ
How long is the Tokyo Photography Masterclass?
It lasts about 3 hours.
Where does the tour start?
The meeting point is at the Hachiko Statue, 2 Chome-1 Dogenzaka, Shibuya, Tokyo 150-0043, Japan.
Is this a private tour?
Yes. It’s private, so only your group participates.
What is the price?
It costs $190.00 per person.
What’s included in the tour?
You get a professional photographer guide, a private tour, and a local guide.
Do I need to bring a camera?
Yes. A camera is not included. (A tripod can be rented if you want one.)
Is it suitable for beginners?
Yes. The experience is suitable for all levels, from first-time photographers to semi-professionals.
Can I choose day or night-style shooting?
The masterclass is tailored to what you want to photograph, including options like street scenes in Shibuya/Harajuku or night photography such as Shinjuku neon or Asakusa and Senso-ji after dark.
What if my plans change and I need to cancel?
You can cancel for free up to 24 hours in advance for a full refund.