REVIEW · TOKYO
Tokyo Pre Japan Planning Kit Itineraries, Food & Survival
Book on Viator →Operated by Sunrise Adventure · Bookable on Viator
Tokyo can overwhelm fast; this plan steadies. This self-guided 4-day route is interesting because it mixes major sights with room for your own timing, so you’re not trapped in a rigid schedule. I love the start-stop flexibility and the included local food recommendations, which help you decide faster once you’re on the street. One thing to weigh: there’s no physical guide, so you’re relying on the digital itinerary and your own choices.
The smart part is the way it’s organized like a menu, not a trap. You can hit the suggested stops (or skip them), use your phone ticket, and build each day around what you feel like doing. The plan also keeps things practical by sticking to neighborhoods that connect well across four days.
At just $26.06 per group (up to 15 people), it can be great value if you’re traveling with friends. If you’re solo, it’s still a low-cost way to cut the planning time, especially since the kit includes a Japanese survival card and a discount on an e-Sim.
In This Review
- Key things that make this Tokyo kit worth a look
- Price and value: $26.06 per group can be a steal
- What you actually get: PDF itinerary, local food ideas, and a survival card
- Where the plan starts: Shinjuku City, and why that’s a smart anchor
- Day 1: Tsukiji Fish Market, Asakusa Sensoji, and Tokyo Gov’t views
- Tsukiji Fish Market (about 2 hours, free)
- Asakusa (Sensoji + Nakamise area) (about 2 hours, free)
- Tokyo Metropolitan Government Building observation decks (about 1 hour, free)
- Day 2: Imperial Palace gardens, Harajuku style, and Shibuya at full volume
- Imperial Palace (about 2 hours, free)
- Harajuku Station and the Takeshita Street zone (about 2 hours, free)
- Shibuya Crossing (about 2 hours, free)
- Day 3: Ueno’s Ameyoko market street and Akihabara’s tech-and-anime world
- Ueno + Ameyoko (about 3 hours, free)
- Akihabara (about 2 hours, free)
- Day 4: Odaiba waterfront future, Shinjuku Gyoen gardens (paid), and Shinjuku at night
- Odaiba District (about 2 hours, free)
- Shinjuku Gyoen National Garden (about 2 hours, admission not included)
- Shinjuku (about 3 hours, free)
- How to use the flexible stops without wasting time
- Who this Tokyo plan suits best (and who should consider other options)
- Should you book Sunrise Adventure’s 4-day Tokyo kit?
- FAQ
- Is this a guided tour with a person meeting you?
- How much does it cost, and is it per person?
- How long is the itinerary?
- Where do I start and where does it end?
- What’s included in the kit?
- Is Shinjuku Gyoen admission included?
- What’s the maximum group size?
- When can I use it?
- What is the cancellation policy?
- Do I get a mobile ticket?
Key things that make this Tokyo kit worth a look
- Flexible itinerary, not a strict tour that you can start and stop as you like
- Local food recommendations aimed at helping you choose where to eat quickly
- Japanese Survival Card + e-Sim discount included in the kit
- Four days of classic Tokyo stops across Tsukiji, Asakusa, Harajuku, Shibuya, Ueno, Akihabara, Odaiba, and Shinjuku
- Several entries marked free (and one notable paid stop you’ll plan for)
- Small cap of 15 on the group size, even though this is self-guided
Price and value: $26.06 per group can be a steal
This is priced per group, not per person. That matters. If you’re traveling as a small group, the cost can drop to only a few dollars per person, which makes the kit feel like a planning tool you basically inherit for cheap.
Even if you’re solo, $26.06 for a multi-day Tokyo plan can still pencil out. Why? Because you’re paying for time savings: you don’t have to build a first-pass route from scratch, and you get help figuring out what food to prioritize. The extra items bundled in (the Japanese Survival Card and the e-Sim discount) add small but useful “friction reducers” when you’re new to Japan.
Also, this is a mobile-ticket style experience. In plain terms: you’re carrying what you need on your phone, which is exactly what you want for a city where you’ll be hopping between districts all day.
You can also read our reviews of more food & drink experiences in Tokyo


What you actually get: PDF itinerary, local food ideas, and a survival card
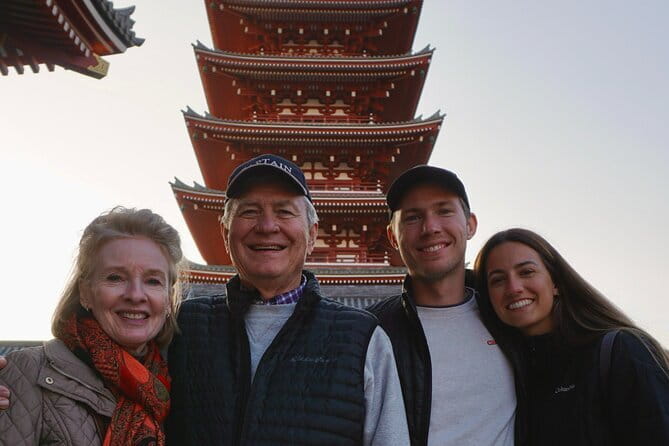
The kit includes a self-guided PDF itinerary for your four days. One review noted the plan is broken down clearly and is fairly short, around eight pages, which is a plus if you don’t want a binder of reading material.
You also get Tokyo personal food recommendations by locals. That’s the difference between a generic sightseeing route and one that nudges you toward places that feel practical and “Tokyo-now,” instead of just checking boxes. When your day runs long (or starts late), having food ideas ready helps you avoid the spiral of searching for something that looks good but never quite works out.
Two more useful inclusions: a Japanese Survival Card and a discount on e-Sim. The data doesn’t specify what phrases are on the card, but the name says what it’s meant for: simple help when you need to communicate. The e-Sim discount is there for convenience, too, since staying connected makes navigating Tokyo and looking up transit details easier.
Where the plan starts: Shinjuku City, and why that’s a smart anchor
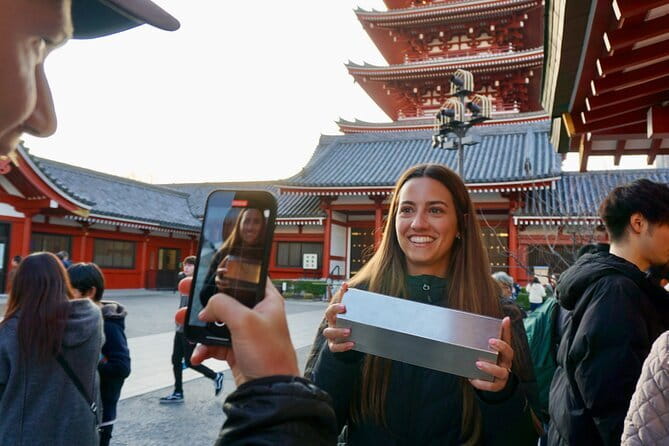
The meeting point is Shinjuku City, Tokyo, and the activity ends back at the meeting point. That’s a helpful structure because Shinjuku is one of the easiest places to treat as “home base.” You’re not relying on a far-flung endpoint that forces you into extra transit at the end of your day.
The experience is also listed as near public transportation. Translation: you shouldn’t be planning your day around a location that’s hard to reach. Most of the stops land in areas that are common transit targets, so moving between neighborhoods is part of the normal Tokyo rhythm.
Day 1: Tsukiji Fish Market, Asakusa Sensoji, and Tokyo Gov’t views
Day 1 is built around three very different Tokyo experiences, all with free entry listed in the plan.
Tsukiji Fish Market (about 2 hours, free)
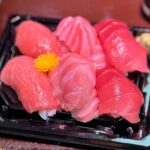
Tsukiji is the classic seafood hub, tied to an early-morning seafood trade. If you like food culture and don’t mind crowds, this stop is a great way to start your trip with energy. The plan gives you a two-hour window, which is long enough to walk, look, and choose what you want to sample without feeling trapped.
Practical note: if you’re not a morning person, you can still use Tsukiji as a visual and atmosphere stop. But you’ll likely get the most out of it when you show up with some energy and patience.
You can also read our reviews of more tours and experiences in Tokyo



Asakusa (Sensoji + Nakamise area) (about 2 hours, free)
Then the plan swings into old-meets-local shopping with Asakusa and Sensoji. You get the Kaminarimon gate and the Nakamise shopping street as key anchors. This is one of those areas where you can slow down without needing tickets or a timed entry.
The drawback to consider: it’s popular, so you’re often sharing space with tour groups and day-trippers. If you dislike crowds, you’ll want a mindset shift: use the walk as a photo-and-snack circuit rather than expecting quiet.
Tokyo Metropolitan Government Building observation decks (about 1 hour, free)
To close Day 1, you get a payoff view option at the Tokyo Metropolitan Government Building observation decks on the 45th floor (the plan references the Skyview). This is a smart move because it helps you orient yourself. After two traditional stops, the skyline view gives your trip a “map in your mind.”
If you’re the type who likes big-city scale, this is one of the easier ways to get it fast without spending money.
Day 2: Imperial Palace gardens, Harajuku style, and Shibuya at full volume
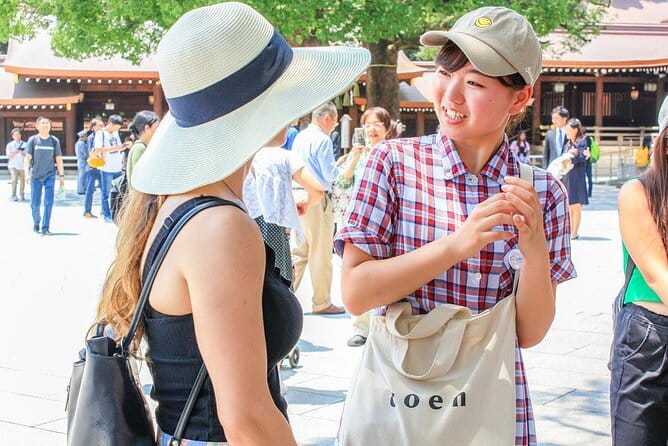
Day 2 reads like Tokyo’s personality test: calm, then fashion, then street energy.
Imperial Palace (about 2 hours, free)
The plan points you to the Imperial Palace area, with attention on the East Gardens and the surrounding historic structures. Even if you don’t know the full political timeline, gardens and palace grounds give you a breather from the nonstop shopping streets.
One consideration: because this is a palace area, you may find rules and access limitations depending on the day. The plan itself keeps it simple by setting a two-hour time frame, which is a good buffer if you find you need extra time to wander at a steady pace.
Harajuku Station and the Takeshita Street zone (about 2 hours, free)
Next up is Harajuku, including Takeshita Street and the wider fashion district vibe. This is the place for people-watching and shopping, especially if you like quirky street style and trendy boutiques.
The possible downside: Harajuku is fun, but it can feel like sensory overload if you’re already tired. If that happens, use the two-hour suggestion as a guideline, not a commitment. You can cut it short and head to the next stop early.
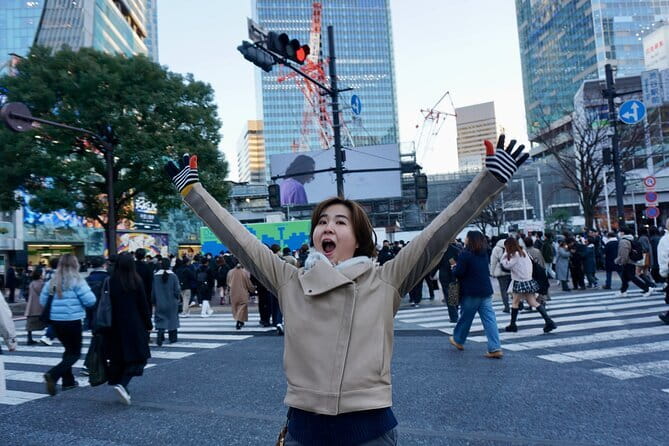
Shibuya Crossing (about 2 hours, free)
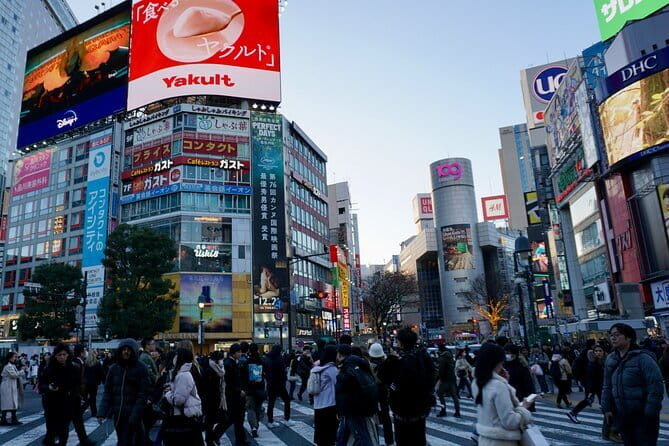
Then you hit Shibuya Crossing, one of the world-famous pedestrian intersections. The plan calls out the multi-directional crossing and the neon-heavy surrounding areas. This is the part of Tokyo that feels like a movie set, and it’s a good night-or-day photo anchor depending on your energy.
Tip: if you want fewer crowds, aim for a slightly off-peak moment. The plan gives you two hours, which is plenty to walk around the area and get your photos without rushing.
Day 3: Ueno’s Ameyoko market street and Akihabara’s tech-and-anime world
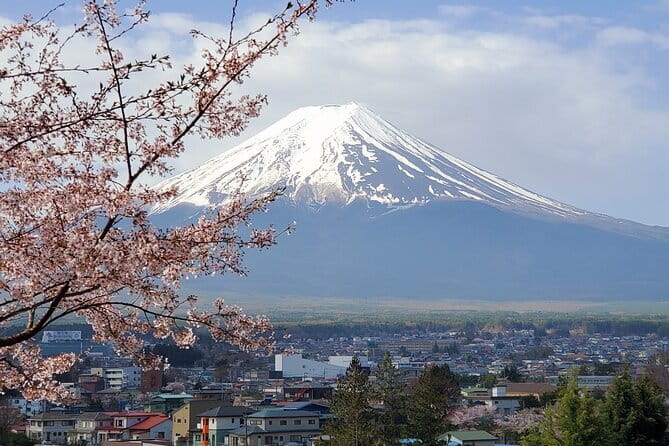
Day 3 covers food-and-fun streets, then nerd heaven.
Ueno + Ameyoko (about 3 hours, free)
The plan includes Ueno with Ameyoko, described as an open-air market street with shops and food stalls. This is where you can sample without planning a full restaurant meal. You’ll see a mix of goods and quick bites, which makes it a flexible lunch-and-wander day.
If you like bargaining energy and browsing, you’ll probably enjoy spending the full three hours. If you don’t, treat it as a one-pass circuit: pick one snack and one shopping stop, then move on.
Akihabara (about 2 hours, free)
After Ueno, you head to Akihabara, known for electronics and anime/pop culture merchandise. This is the district for gadgets, games, and all the fandom-friendly stores that can be fun even if you’re not a superfan.
The value here is choice. Two hours is enough time to browse the front-door highlights and still keep the day from running late. If you end up spending more time, that’s okay too, because the itinerary style is meant for adapting.
Day 4: Odaiba waterfront future, Shinjuku Gyoen gardens (paid), and Shinjuku at night

Day 4 is your change-of-pace day: modern waterfront, then gardens, then Tokyo nightlife.
Odaiba District (about 2 hours, free)
The plan describes Odaiba as a futuristic island in Tokyo Bay with ultramodern architecture and waterfront views. It also references major attractions like the giant Gundam statue and teamLab-style digital experiences. Even if you don’t pay for the biggest paid attractions, the area is worth it for the scenery and the feel of a different Tokyo mood.
If you’re shopping for entertainment, this is where you might spend the most energy. If you want quiet, set expectations: Odaiba is built for visitors, so it won’t feel secluded.
Shinjuku Gyoen National Garden (about 2 hours, admission not included)
Next is Shinjuku Gyoen National Garden, with a two-hour suggestion and a clear note: admission isn’t included. The plan also points out the mix of traditional Japanese, English, and French garden styles, plus the garden’s association with cherry blossoms.
This is the day’s reset button. After Odaiba’s big complexes, the garden walk can be calmer and more grounded. The main drawback is budget planning: you’ll need to cover the garden ticket separately.
Shinjuku (about 3 hours, free)
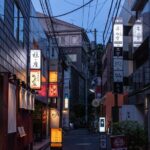
Finally, you get Shinjuku at night, with neon lights, izakayas, and karaoke bars. Three hours is a good time box for enjoying the area without forcing a late-night slog. If you like eating in small bites or wandering for atmosphere, Shinjuku is a strong finish.
If you want a quieter ending, you can also shorten Shinjuku. The whole point of this kit is choosing what to keep and what to drop.
How to use the flexible stops without wasting time
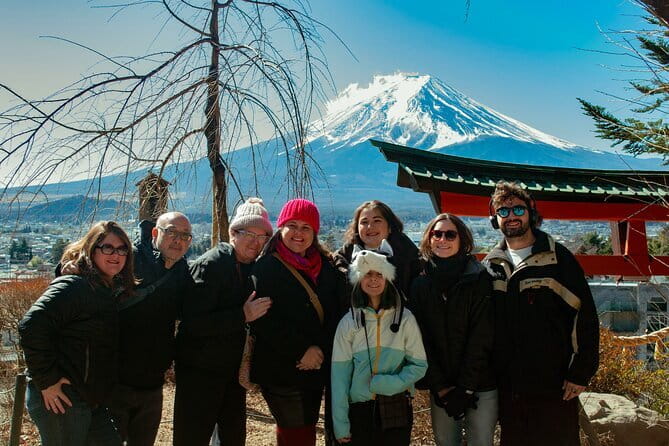
This kit is designed for flexibility: you can start and stop whenever you like, and you’re not stuck following every suggestion in order.
Here’s how I’d use it to stay sane:
- Treat each day as a routing framework, not a checklist. If a stop doesn’t fit your day’s mood, swap it or skip it.
- Use the included food recommendations as a decision tool. Before you commit to a random place, pick from the local suggestions in your PDF.
- Watch for the one explicitly paid item: Shinjuku Gyoen admission isn’t included, so plan your budget accordingly.
- Give yourself buffer time around big crossings and market areas. These zones tend to reward slower walking.
Also, keep a simple habit: when you finish a stop, do a quick check on your next location and decide whether you’re walking, taking transit, or just calling it for the day. The itinerary style won’t save you if you refuse to make choices, but it will help you make them faster.
Who this Tokyo plan suits best (and who should consider other options)
This works best for you if:
- You want a solid route for first-time Tokyo without spending hours researching
- You like options to follow or pass on stops rather than a strict schedule
- You value practical food advice and quick planning help
- You’re comfortable using a digital plan on your phone
It might not be the right fit if:
- You want a person to manage the day for you (there’s no physical tour guide)
- You need step-by-step, real-time problem solving when plans go off script
- You rely on last-minute document access and tend to book close to departure, since one review flagged that the timing of receiving the document can matter
Should you book Sunrise Adventure’s 4-day Tokyo kit?
If you’re planning a first Tokyo visit, this is a smart way to get your bearings fast and still keep control. You get a clean four-day arc across classic neighborhoods, plus local food help and a survival card for basic communication. The cost is also friendly for groups, and the structure is flexible enough to match how you actually travel.
I’d book it if you want practical guidance without being trapped. I’d think twice if you need an in-person guide or if you’re the type who waits until the last minute and risks not having the PDF ready when you need it.
In short: for independent travelers who like clear options, this self-guided Tokyo planning kit is good value.
FAQ
Is this a guided tour with a person meeting you?
No. This is a self-guided experience. The kit includes a PDF itinerary and local food recommendations, but there is no physical tour guide.
How much does it cost, and is it per person?
The price is $26.06 per group, up to 15 people.
How long is the itinerary?
It’s listed as 4 days (approx.).
Where do I start and where does it end?
The meeting point is Shinjuku City, Tokyo, Japan, and the activity ends back at the meeting point.
What’s included in the kit?
Included items are a self-guided PDF itinerary, Tokyo personal food recommendations by locals, a Japanese survival card, and a discount on e-Sim.
Is Shinjuku Gyoen admission included?
No. Shinjuku Gyoen National Garden admission is not included.
What’s the maximum group size?
The experience has a maximum of 15 travelers.
When can I use it?
It lists operating hours as Monday through Sunday, 12:00 AM to 11:30 PM, within the date range 05/12/2024 to 02/22/2027.
What is the cancellation policy?
Free cancellation is available. You can cancel up to 24 hours in advance for a full refund; within 24 hours, the amount paid is not refunded.
Do I get a mobile ticket?
Yes. The experience is listed as having a mobile ticket.