REVIEW · TOKYO
Mount Fuji 1-Day Trip: the Hottest Photography Tour
Book on GetYourGuide →Operated by REOTRIP TECHNOLOGY LIMITED · Bookable on GetYourGuide
Fuji views all day, with less hassle. This Mount Fuji 1-day photography tour strings together the best photo stops and saves you the transport headache. A guide keeps things organized so you spend energy on framing shots, not figuring out trains and buses.
I also like that the route includes big-name compositions like the Chureito Pagoda and the classic Fuji-in-setting scenes around Lake Kawaguchi. One drawback to know up front: it’s a full 10-hour day, and food plus any attraction admissions are not included, so you’ll want to plan your budget and breaks.
In This Review
- Key highlights you’ll feel right away
- A 10-Hour Fuji Photo Route That Handles the Hard Parts
- Arakurayama Sengen Park: Chureito Pagoda and Those 397 Steps
- The Fuji Detail Stops: Stairway to Heaven and Hikawa Clock Shop
- Oshino Hakkai: Fuji Reflections in Eight Springs
- Lake Kawaguchi’s Photo Moments: Lawson Stop and Oishi Park
- Seasonality and Weather Reality: How to Get the Most from Fuji
- Getting Back to Tokyo: Finish Strong, Not Frazzled
- Price and value: Is $83 worth it for a Fuji photo day?
- Should you book this Mount Fuji 1-Day Photography Tour?
- FAQ
- Where are the meeting points?
- How long is the tour?
- How much does it cost?
- What’s included in the price?
- What is not included?
- What language is the tour guide?
- What should I bring?
- What should I expect the day before the tour?
- What are the key seasonal photo options at Oishi Park?
- Is food included during the day?
Key highlights you’ll feel right away
- Guided route that removes navigation and language stress for a tight 10-hour schedule
- Arakurayama Sengen Park + Chureito Pagoda with Fuji views plus the famous street-composition backdrop
- Oshino Hakkai’s eight springs for Fuji shots with water texture, not just mountain silhouettes
- Multiple Fuji angles across the day, from viewpoints to convenient photo breaks
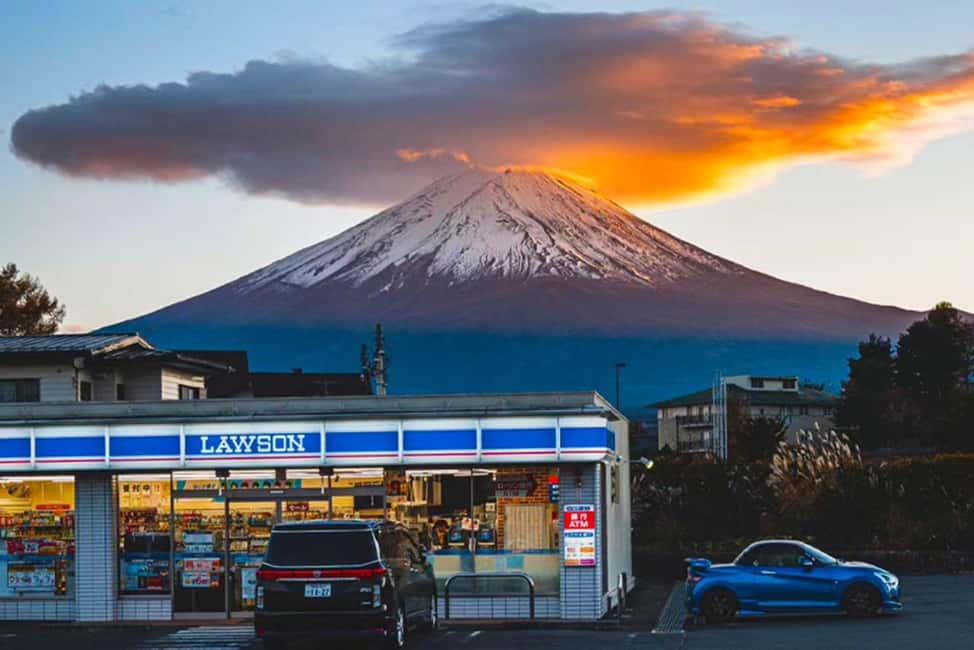
- Lake Kawaguchi photostops including a Lawson convenience-store stop for classic Fuji framing
- Seasonal color planning at Oishi Park plus Maple Corridor dates when available
A 10-Hour Fuji Photo Route That Handles the Hard Parts
This tour is built for one goal: getting you solid Mount Fuji photos without turning the day into a logistics puzzle. You meet at one of two Tokyo starting points (JR Tokyo Station Marunouchi South Exit or Tokyo Mode Gakuen), then you ride by bus/coach for about 2.5 hours to get to the Fuji area. That time on the road is the trade-off for a smooth, guided day that doesn’t require you to switch systems, re-check transfers, or communicate at every step.
The other “good value” detail is that the tour includes the stuff that quietly adds up when you travel on your own: round-trip transfers, plus toll, parking, and fuel fees. For an $83 price tag, that’s the real calculation. You’re not just paying for sightseeing. You’re paying to avoid the friction of getting yourself from Tokyo to multiple Fuji spots and back.
Also, you’re not wandering alone. You have a live guide in English and Japanese, and your guide can help you get oriented fast at each stop. I’m especially glad when the guide isn’t just reading a script. In the feedback, one guide named Louis stood out for being friendly and easy to work with.
You can also read our reviews of more photography tours in Tokyo


Arakurayama Sengen Park: Chureito Pagoda and Those 397 Steps
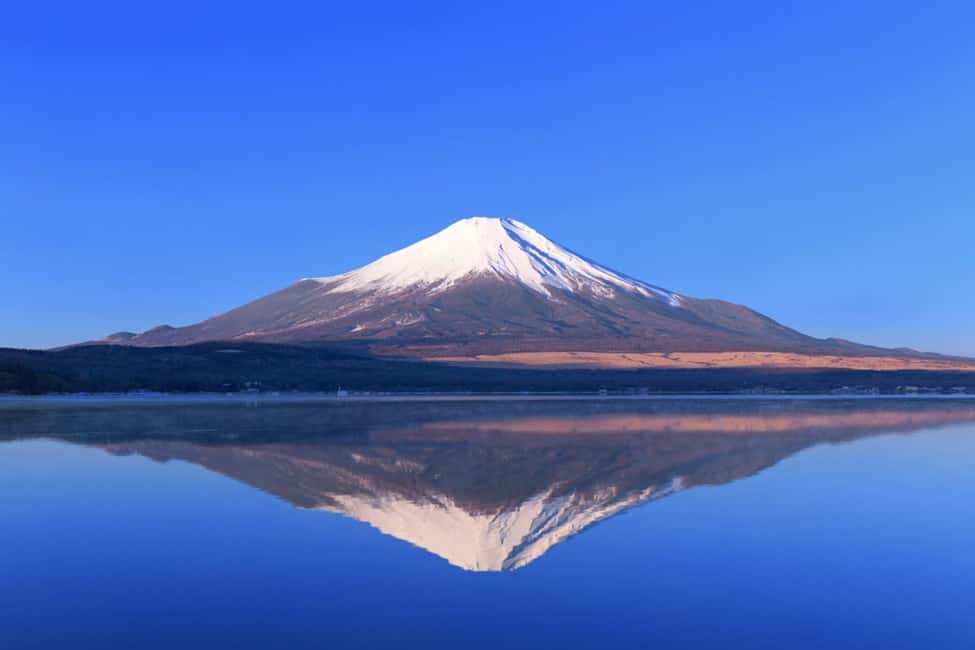
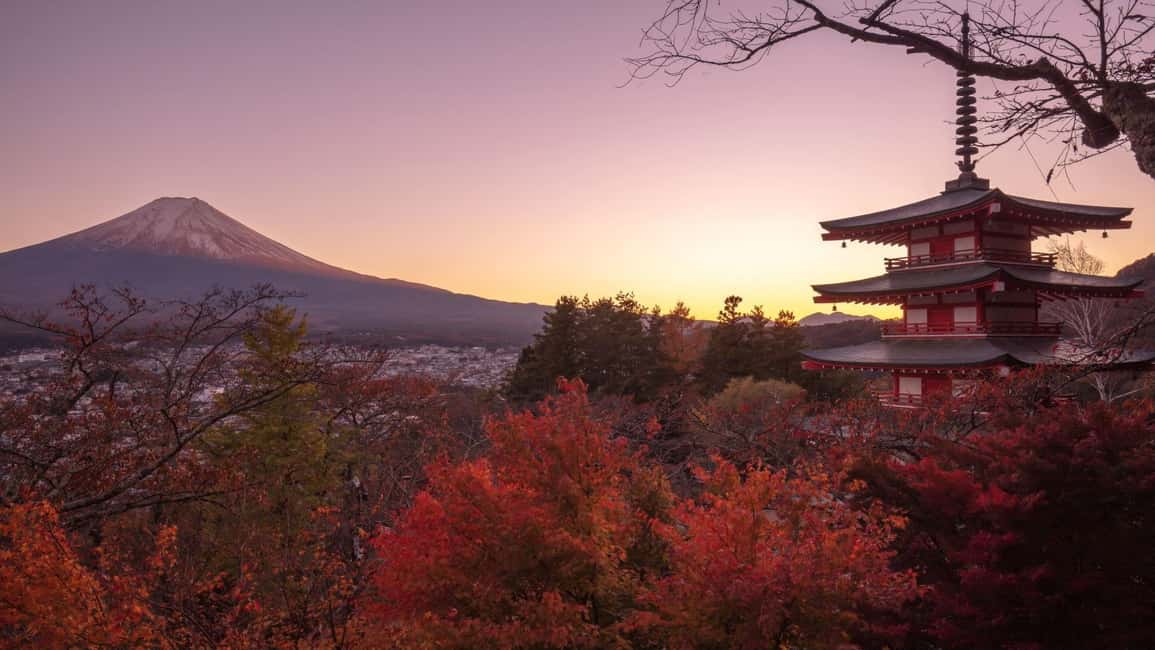
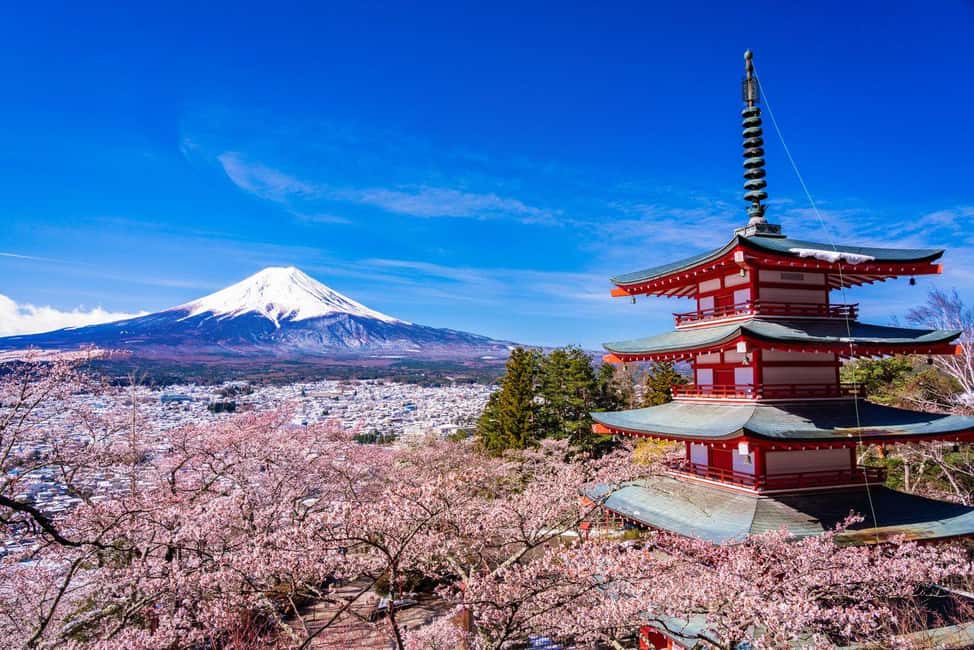
Your day begins at Arakurayama Sengen Park, a place photographers put at the top of their lists. It’s famous for a specific reason: the composition. At the park you’ll reach the striking Chureito Pagoda, where the pagoda, Mount Fuji, and the surrounding streets can align into one frame. It’s the kind of shot that looks simple in photos, but takes real location accuracy in real life.
You’ll also walk up the 397 steps to get there. This is the moment where your legs will learn the plan. Comfortable shoes matter here more than almost anywhere else on the route. If you’re someone who hates stairs or has mobility limits, that section may be the most physically demanding part of the day.
Timing matters too. The itinerary gives you about one hour at Arakurayama Sengen Park. That might sound short, but it’s practical. Fuji photography is all about angles, light, and clarity, and having focused time helps you rotate through viewpoints without feeling rushed by a slow group.
What I like about starting here is that you get a “big wow” early. Even if Fuji is partially hidden at first, this is a spot where the mountain often peeks through as weather shifts during the day. And even when Fuji is less cooperative, the pagoda and park views still give you a strong set of photos beyond the perfect-mountain fantasy.
The Fuji Detail Stops: Stairway to Heaven and Hikawa Clock Shop
After Arakurayama, the day shifts from one iconic vista to a cluster of recognizable Fuji landmarks that work great for photos at different distances.
One highlight is the Stairway to Heaven portion of the Mount Fuji area. It’s essentially a set of steps that photographers love for perspective. If you like images with leading lines, this is your shot. The key is to move slowly and watch your background. You want the mountain to stay clean in the frame, not blocked by random signage or people moving through.
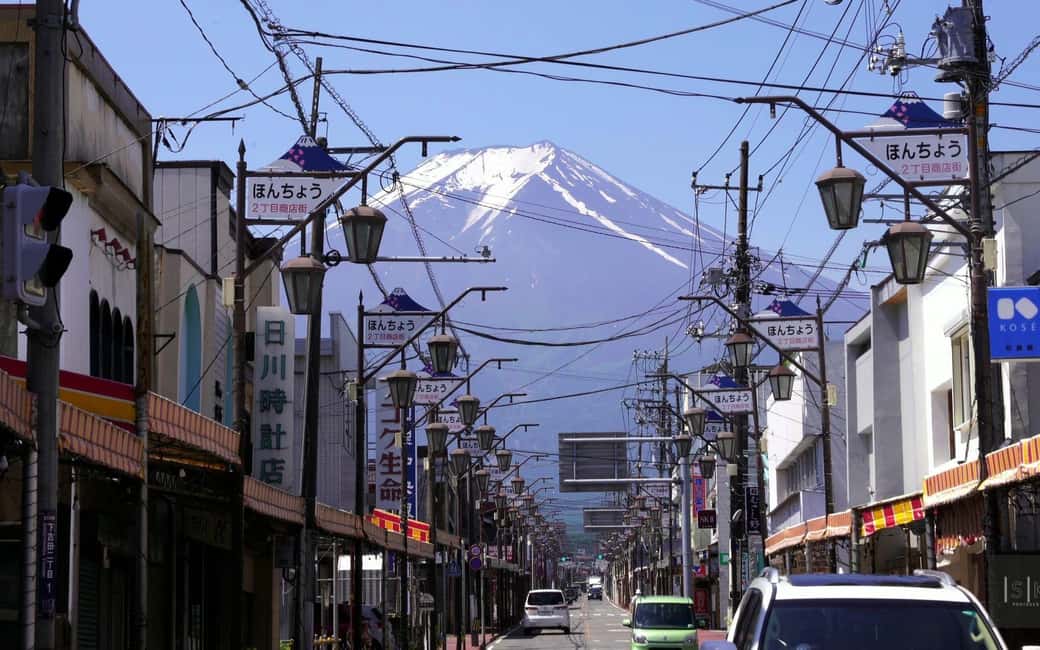
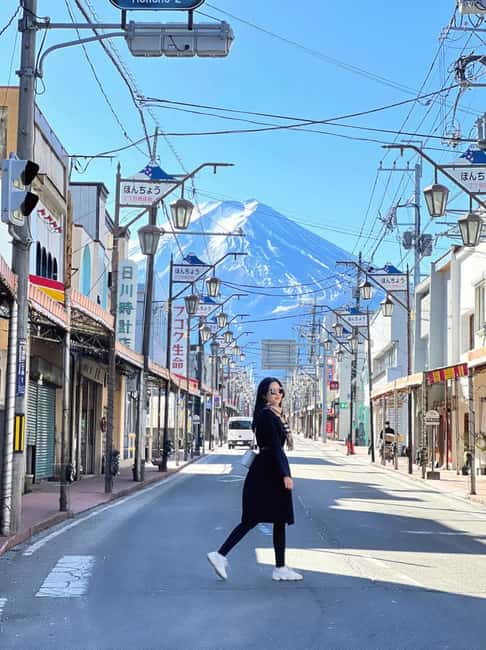
Next comes the Hikawa Clock Shop, also known for Instagram-friendly Fuji framing. This is the type of stop where you’ll probably take multiple photos quickly: wide view, medium view, and then a tighter shot once you see where the best angle lines up with the clock shop façade.
The tour includes a break/photo stop here, which is smart. These landmarks often have photo crowds. A timed stop reduces the stress of waiting around without knowing when you’ll move on. It’s also a chance to reset your camera and hands, especially if you’ve been standing and walking for an hour already.
Oshino Hakkai: Fuji Reflections in Eight Springs
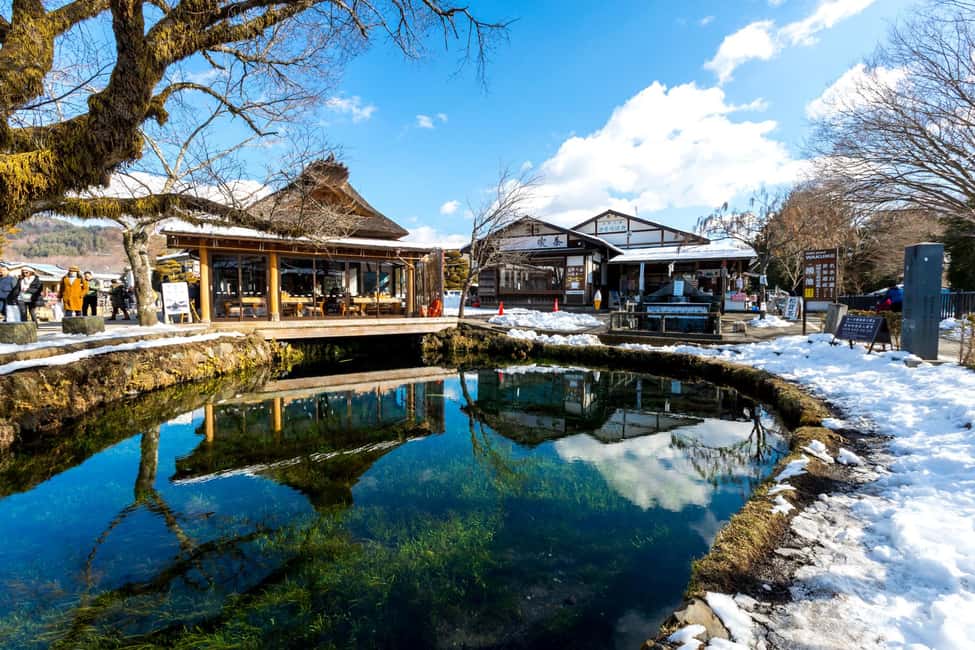
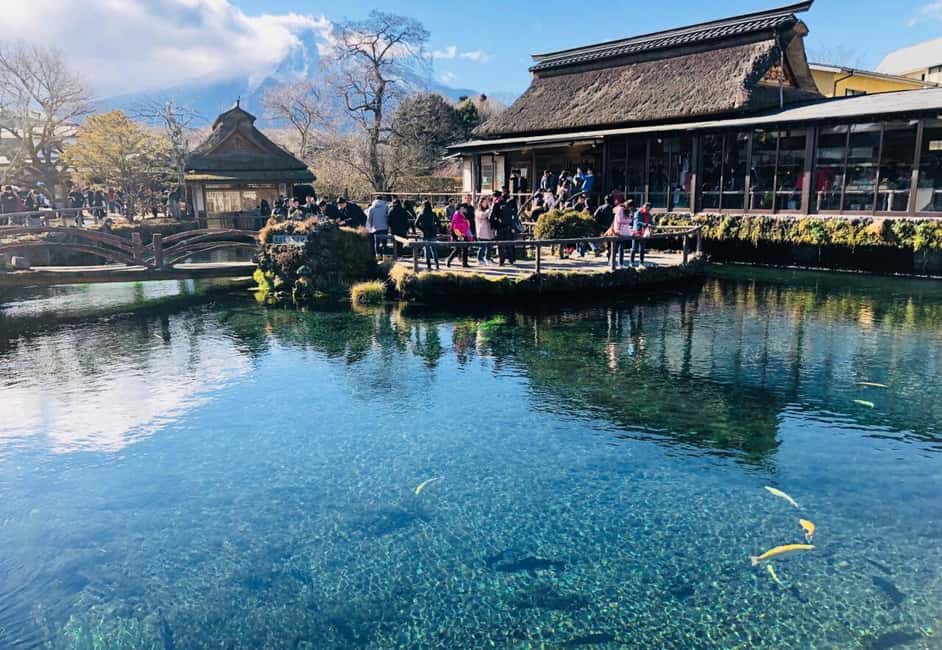
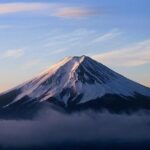
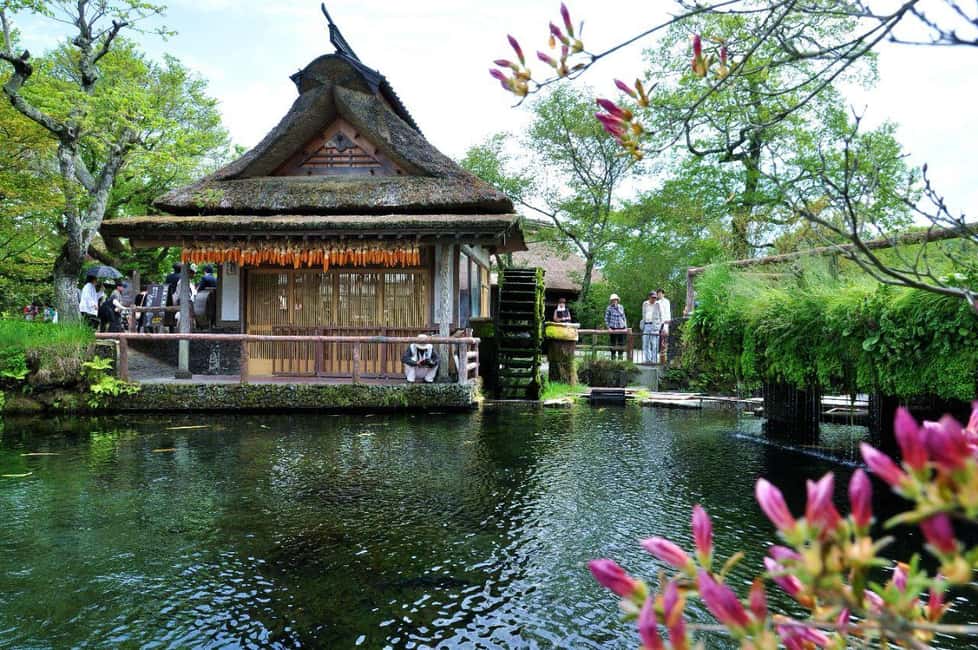
Then you’ll head to Oshino Hakkai, with about 1.5 hours allocated for sightseeing and scenic views on the way. Oshino Hakkai is different from the pagoda viewpoint because it gives you water, not just height. The highlight here is the eight pristine springs, a national natural monument, with Mount Fuji often reflected in the water depending on weather and visibility.
If you’ve been collecting Fuji photos all day, Oshino Hakkai becomes the “texture” section of your set. Mountains can get repetitive. Springs break the pattern. They also add a realistic feel—this is Fuji’s environment in action, not only the postcard view.
One practical tip: keep your camera low enough to catch the water surface cleanly. At these springs, small changes in angle can make the difference between a pleasant reflection and a blurry, busy frame. And because it’s a scenic area with multiple viewing points, expect a bit of walking even though you’re there for sightseeing rather than a full trek.
This stop is a good mid-day anchor. By the time you reach Oshino Hakkai, you’re past the big stairs and into the rhythm of casual photo stops. That’s an ideal pacing for a long day.
Lake Kawaguchi’s Photo Moments: Lawson Stop and Oishi Park
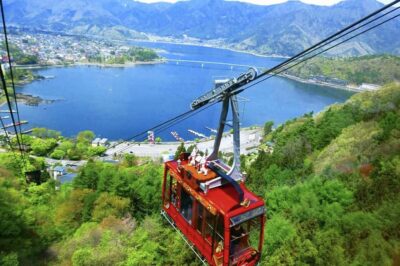
The tour then moves toward Lake Kawaguchi, one of the most photographed bases for Mount Fuji because it gives you space to place the mountain in a broader scene.
You’ll make a Lawson at Kawaguchiko Station stop for a break and photo opportunity. This is the kind of Fuji photography detail that feels oddly charming. Convenience stores might not sound like a “must,” but their fixed location and storefront shapes make them good Fuji-frame anchors. For many photographers, these practical locations deliver the most repeatable compositions—especially when you want your shots to feel like real life, not just a mountain floating over empty space.
You’ll also be treated to a complimentary choice of ice cream, tea, or coffee at this stop. That’s genuinely useful on a 10-hour day. You’re not just sightseeing—you’re standing, walking, waiting, and shooting. A quick food or warm drink reset helps you keep going without spending time searching for something simple.
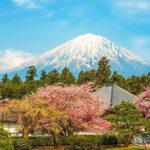
From there, you head to Oishi Park, with about one hour for sightseeing and scenic views en route. This is the “color in front of Fuji” portion. The big advantage here is that Oishi Park changes by season, so you’re not just chasing the mountain—you’re chasing the palette.
Here’s how the color works depending on timing:
- Lavender: June and July
- Begonias and cosmos: July to September
- Kochia: October
- Maple Corridor (seasonal): October 20th to November 23rd
If you’re traveling during October, you may have the option of the Maple Corridor as the autumn counterpart to the flower scenes. If you’re trying to maximize photo payoff, match the park’s seasonal attraction to your travel dates. It’s a simple move that makes your photos more personal instead of looking like generic “Fuji, any day” shots.
You can also read our reviews of more tours and experiences in Tokyo


Seasonality and Weather Reality: How to Get the Most from Fuji
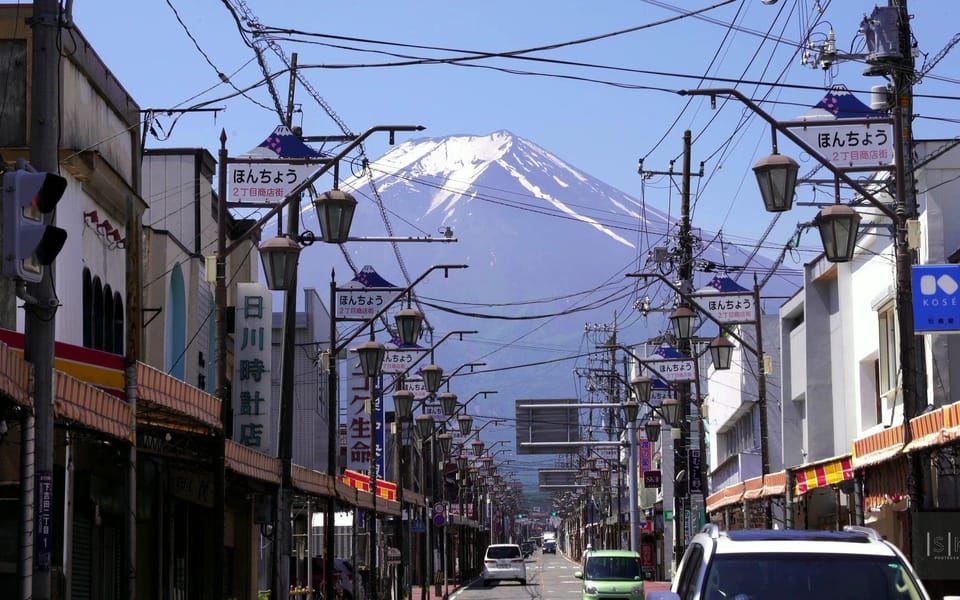
Mount Fuji has a reputation for making plans look foolish. Clouds and visibility can change quickly, and a tour schedule is still a schedule. This is why a guided route matters: it gets you to several places that offer different framing options.
If Fuji is crisp, you’ll probably have no problem generating a satisfying set of wide and medium shots. But if visibility is partial, you’ll still benefit from having multiple types of views in your itinerary:
- higher vantage points (like Arakurayama and the pagoda area)
- perspective shots (steps and stairways)
- water reflections and texture (Oshino Hakkai)
- foreground anchors near the lake (Lawson and park scenes)
Also, expect travel time to shift. The tour notes that schedules can change due to daily traffic, weather, holidays, and crowd levels. That matters because you don’t want to plan your own strict photo timings that get ruined by delays. This tour is built for a group pace, so use your energy to show up ready with the right shoes and camera settings for the outdoor stops.
Getting Back to Tokyo: Finish Strong, Not Frazzled
After the final photostops around Lake Kawaguchi, the tour returns you to your original Tokyo drop-off locations: JR Tokyo Station Marunouchi South Exit or Tokyo Mode Gakuen.
That back-to-Tokyo timing is the last “value” detail. If you were doing this independently, you’d be guessing which train or bus connections to use after dark and after crowds. Here, the bus/coach handles the end of the day and you get to end where you started.
A small travel-planning note: your tour day is long, and the itinerary includes multiple stops plus scenic walking. Build in the mindset that you’ll move, shoot, and reset constantly. That’s not a bad thing. It’s what makes the day feel productive instead of waiting around.
Price and value: Is $83 worth it for a Fuji photo day?
At $83 per person for a 10-hour guided outing, the value is mostly about logistics. You’re paying for:
- a tour guide
- round-trip bus/coach transfers from Tokyo
- tolls, parking, and fuel fees
You’re not paying for:
- food and drinks (except the complimentary ice cream/tea/coffee at the Lawson stop)
- attraction admissions (which may be required depending on what you visit)
So the honest math looks like this: if you want to avoid coordinating transit to multiple Fuji landmarks and you like the idea of a planned route with photo-focused stops, this price feels reasonable. If you’re a flexible independent traveler who already knows the local transport and plans to do only one viewpoint, you might spend less by going solo. But you’ll likely lose time, accuracy, and the benefit of having a guide point you toward where the shots work best.
If you’re going as a camera-focused day trip and you want the most Fuji “hits” in one day, this tour’s structure is the bargain.
Should you book this Mount Fuji 1-Day Photography Tour?
I’d book it if you:
- want multiple classic Fuji photo locations in one day
- prefer a guide-led plan over transit research
- care about having time for photography at several angles, not just one viewpoint
- like the idea of seasonal color at Oishi Park (and possibly the Maple Corridor in the late October window)
I’d think twice if you:
- can’t handle a lot of walking and stairs, since the Chureito Pagoda climb includes 397 steps
- dislike long days, since the total tour time is about 10 hours
- don’t want to manage your own meals and any attraction admission fees
If you want a Fuji day that’s practical and photo-driven, this is a strong pick—especially because it reduces the two things that usually ruin travel-day photos: time lost in transit and confusion about where to stand.
FAQ
Where are the meeting points?
You can meet either at JR Tokyo Station Marunouchi South Exit or at Tokyo Mode Gakuen. The exact meeting point may vary depending on the option booked.
How long is the tour?
The duration is 10 hours.
How much does it cost?
The price is $83 per person.
What’s included in the price?
The tour includes a tour guide, round-trip transfers to and from the meeting point, toll fees, parking fees, and fuel fees.
What is not included?
Food and drinks are not included, and attraction admissions are not included.
What language is the tour guide?
The tour guide offers live support in English and Japanese.
What should I bring?
Bring comfortable shoes and comfortable clothes.
What should I expect the day before the tour?
You’ll receive an email the day before with details about the pick-up location, the guide’s contact information, and the bus license plate number. Check your email before you go.
What are the key seasonal photo options at Oishi Park?
Lavender is available in June and July. Begonias and cosmos are available July to September. Kochia is available in October. The Maple Corridor is seasonal and available from October 20th to November 23rd.
Is food included during the day?
Food and drinks aren’t included, but at the Lawson Kawaguchiko Station stop you’ll get a complimentary choice of ice cream, tea, or coffee.