REVIEW · TOKYO
Tokyo Nights: Shibuya Photo Adventure
Book on Viator →Operated by With Japan · Bookable on Viator
Neon photos, minus the awkward posing. This Tokyo Nights Shibuya Photo Adventure pairs easy pose coaching with iconic night stops like Shibuya Crossing and Center-gai.
I really like that the whole shoot is built for normal humans with zero modeling experience. You get a friendly English-speaking photographer who walks with you, directs your angles, and helps you look confident in one of Tokyo’s most recognizable neighborhoods.
One thing to think about: this is weather-dependent and fairly time-boxed. If you’re hoping for a long evening of wandering, you’ll still have to plan the extra hours and dinner yourself.
In This Review
- Key things to know before you go
- Shibuya at night: why the 7:00 pm timing matters
- Meeting point at Shibuya Tsutaya: fast start, clear plan
- How the “no modeling experience” direction really helps
- Stop 1: Shibuya Crossing action shots without the blur
- Stop 2: Center-gai and the backstreet photo vibe
- Stop 3: Miyashita Park for modern lifestyle shots
- Stop 4: Returning to Shibuya Crossing and getting delivery details
- What’s included: 20 edited photos plus one drink
- Price, group size, and what “private” feels like here
- Who the guides are and why people trust the process
- Practical tips so your Shibuya photos actually look like you
- Weather and cancellations: the one factor you should plan around
- Should you book Tokyo Nights: Shibuya Photo Adventure?
- FAQ
- How long is the Tokyo Nights: Shibuya Photo Adventure?
- Where do I meet for the tour?
- What time does the shoot start?
- What is included in the price?
- When will I receive the edited photos?
- Do I need modeling experience?
- Is there a limit on group size?
- What if the weather is bad?
Key things to know before you go
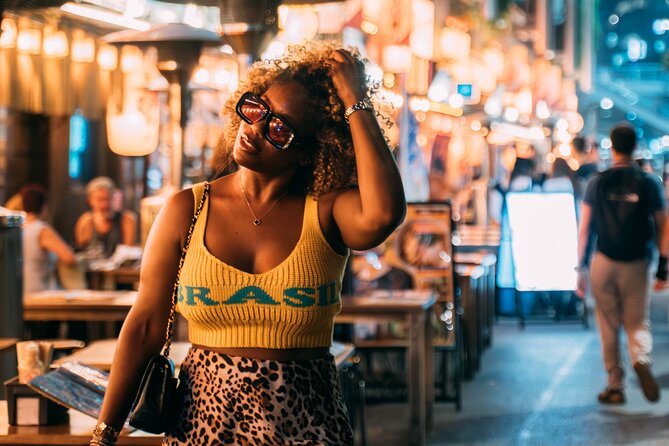
- Private, small-group feel (max 10) keeps the pace human instead of rushed.
- 20 edited photos are delivered within 3–5 days via email or Google Drive.
- Built-in night locations hit Shibuya Crossing, Center-gai, and Miyashita Park.
- You get posing guidance, so you’re not left standing there wondering what to do with your hands.
- One drink is included, which helps turn “photo walk” into “real night out.”
- Mobile ticket makes check-in simple on your phone.
Shibuya at night: why the 7:00 pm timing matters
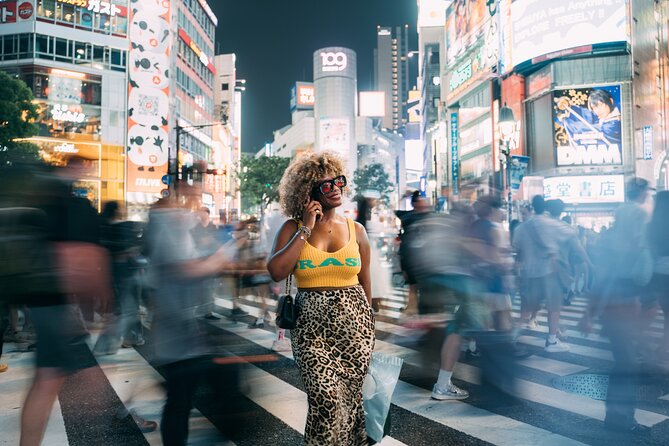
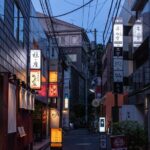
Shibuya looks different after dark, and that’s the whole point. This shoot starts at 7:00 pm, when neon signage is on full display and the streets feel energetic without needing you to hunt for the right lighting.
You’re not doing a slow sightseeing cruise. You’re walking on a photo schedule that’s designed around what the light is doing right now. That’s why the tour keeps moving through multiple areas in a compact 1 hour 30 minutes to 2 hours window.
You can also read our reviews of more tours and experiences in Tokyo.
Meeting point at Shibuya Tsutaya: fast start, clear plan
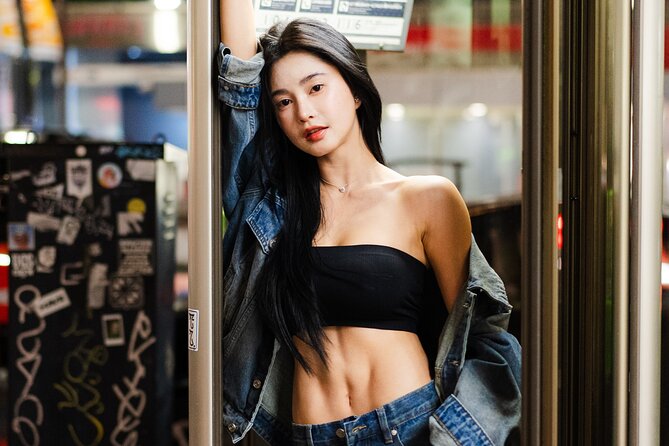
You meet at Shibuya Tsutaya disc (Shibuya, Udagawachō), listed on the B2F–8F level range. It’s near public transportation, and the small-group size (up to 10) means you don’t spend the whole evening waiting for a train that’s never late but still feels late.
The good news: you’re not just handed a route map. You’re matched with a local English-speaking photographer/guide who handles the flow, so you can focus on looking relaxed in front of the camera.
If you’re coming solo, this is also a comfort factor. There’s no awkward “so, who are you in the group photo?” vibe. The photographer’s job is to make you feel like you belong in the frame.
How the “no modeling experience” direction really helps
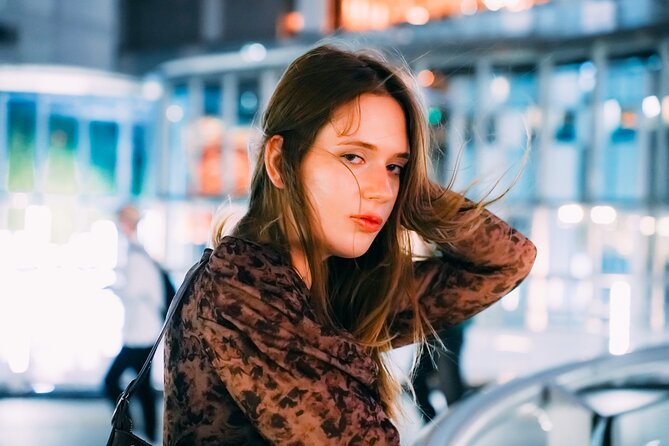
This isn’t a shoot where you’re left to guess. The photographer guides you with poses and angles, and that matters a lot in Shibuya because the background is busy. Neon signs, crossing crowds, and storefront lights can steal attention if your body position isn’t intentional.
In feedback, photographers like Haru and Sophia are repeatedly described as friendly, chill, and professional. People mention that they communicated beforehand with details and made the whole process easy to follow—especially when you’re trying to act natural in a fast-moving crowd.
And if you’re worried about how you’ll look in photos: that worry is exactly what posing guidance fixes. You’ll be doing small adjustments—where you face, how you hold your shoulders, how you frame your face—so you don’t end up with that classic “tourist blur” problem.
Stop 1: Shibuya Crossing action shots without the blur
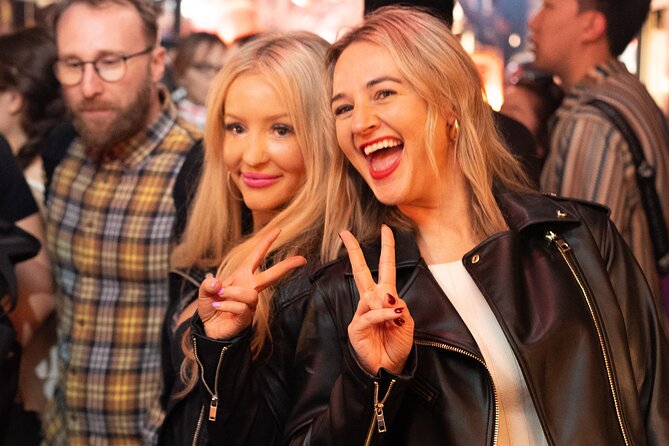
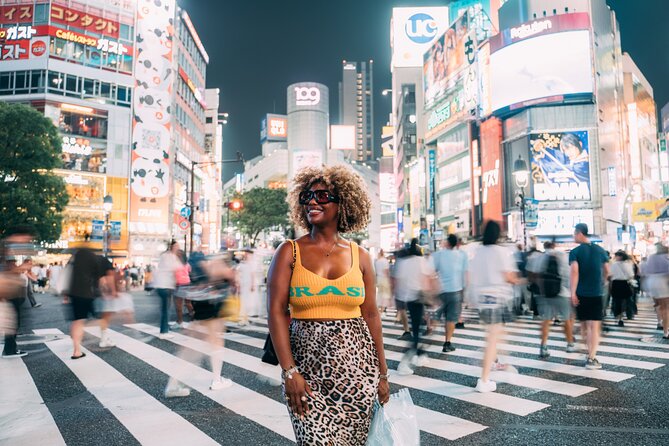
Your first major target is Shibuya Crossing, where you can get that iconic crossing moment people recognize from posters and postcards. The stop is about 30 minutes, which is enough time to do a couple of setups without feeling like you’re stuck in the intersection forever.
The strategy here is timing plus instruction. When you’re crossing one of the busiest intersections in the world, you don’t want to think. You want someone calling out what to do so your photo comes out sharp and your expression looks intentional.
This is also where you can get the most variety fast:
- A classic “walking through neon” look
- Angled shots that show both you and the crossing
- Portrait-style frames with Shibuya’s lights behind you
One practical consideration: Shibuya Crossing is crowded. You’ll still move with the photographer’s guidance, and your job is mostly to stay calm, listen, and follow the timing.
Stop 2: Center-gai and the backstreet photo vibe
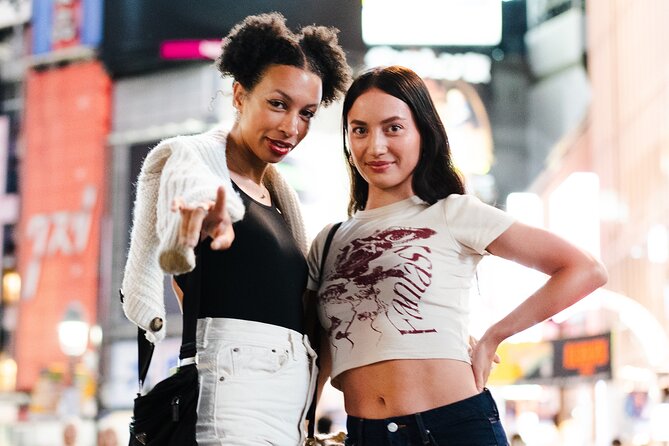
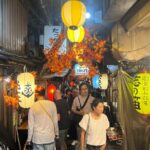
Next up is Shibuya Center-gai and the surrounding backstreets. This stop is also 30 minutes, and it’s a nice change of pace from the huge intersection energy.
Center-gai works well for photos because it gives you layers—signs, storefront shapes, and streets that help your frame feel like Tokyo, not just a person standing in Tokyo. It’s a good place for portraits where you want the background to look detailed but not chaotic.
If you love images that feel more like you discovered a neighborhood than you got a postcard shot, this is your stop. The photographer can help you position yourself so you look clean in the foreground while the area’s lights and signage add texture behind you.
This is also where your posing guidance pays off again. On backstreets, small changes in stance make a bigger difference in how natural you look.

Stop 3: Miyashita Park for modern lifestyle shots
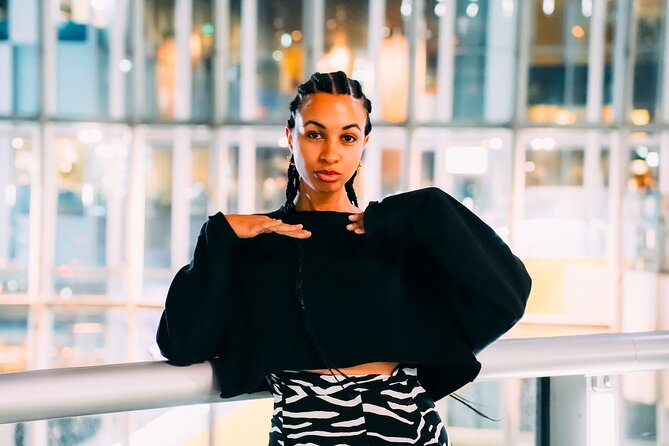
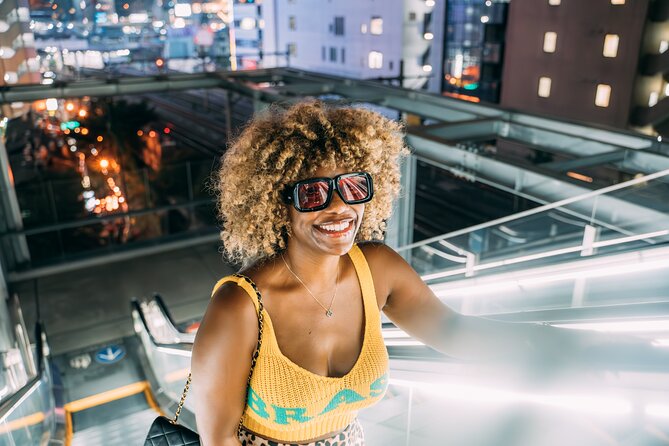
Then you move to Miyashita Park, with 30 minutes here. The vibe shifts from street-corridor energy to more open, modern-style settings—useful if you want photos that look less “only the intersection” and more like a real night out.
The information also notes you’ll wrap up at a rooftop or a quiet spot nearby. That detail matters. Rooftops and quieter corners can give you a breather and a cleaner background. You can go from loud neon streets to something with more breathing room in your frame.
This is also a great stage for pictures that look effortless:
- casual walk-and-turn shots
- relaxed portraits with less visual clutter
- “I’m in Tokyo” style frames that don’t scream pose
If you’re traveling with friends or a couple, this is often where the group photos improve. The space gives the photographer more options, and you get fewer crowds competing for attention.
Stop 4: Returning to Shibuya Crossing and getting delivery details
Your itinerary brings you back to Shibuya Crossing for a final 15 minutes segment. This part is less about shooting and more about logistics and clarity—especially how the edited photos will arrive.
You’ll get the explanation of delivery timing and method: the edited photos are sent via email or Google Drive within 3–5 days. Knowing that up front reduces stress. You’re not wondering if the photos will ever arrive, and you’re not sitting there trying to decide what to do with your phone camera instead.
This final stop also gives you one last chance to capture anything you missed. And if you’re the type who likes to compare shots and refine your expression, that’s your short window to do it.
What’s included: 20 edited photos plus one drink
Here’s the value breakdown that matters most.
You get:
- 20 edited photos as part of the tour
- A local English-speaking guide/photographer
- History and culture of Shibuya (brief, but grounded)
- A drink included
- Admission tickets included for each listed stop
For $94.50 per person, the real question is whether you’re paying for the walk or for the result. In this case, you’re paying for the combination: someone to find good angles in real time, take the shots, and handle editing afterward.
That’s a strong deal if you’re not confident getting great nighttime photos yourself. Shibuya at night is stunning, but phones struggle with motion and mixed lighting. A professional photographer helps you avoid the “great view, weird photo” problem.
Price, group size, and what “private” feels like here
The experience is described as a private 1–2 hour photo shoot, and it also has a max of 10 travelers. In practice, that usually means you’re not jammed into a huge crowd with strangers all trying to pose at once. The pace stays manageable and you get enough attention to look like a person, not just a silhouette.
This is especially good if you’re:
- traveling solo and want photos that look intentional
- a couple who wants shared memories without taking turns at the camera
- a small group that wants consistent results rather than everyone grabbing random shots
It’s also a solid choice if you’re short on time. You’re covering major Shibuya icons in one compact session.
Who the guides are and why people trust the process
Names come up often in the feedback, which is a helpful sign. Haru is frequently singled out for being friendly and easy to work with, and for capturing strong shots even in the busiest corners. People also mention he helped them find great nearby spots afterward.
Sophia shows up in positive mentions for strong communication before the meet-up and for giving clear guidance to get great photos. Kazu is mentioned as both knowledgeable and focused on posing instruction so the photos come out well.
Even if you don’t get the same photographer, the pattern is clear: the best part isn’t just taking pictures. It’s the guidance that makes you feel comfortable while you do it.
Practical tips so your Shibuya photos actually look like you
You don’t need special skills. You do need a few small choices that make the shoot smoother.
- Wear shoes you can walk in for the full 1.5–2 hour run. Night shoots include stops, turns, and time spent standing.
- Bring a layer. It’s an evening event, and temperatures can shift.
- If you’re taking your own photos, don’t let it derail the photographer’s timing. Your best shots here come when you follow direction and let them handle the camera decisions.
- Keep an open mind about posing. Some of the best results come from small changes—chin angle, shoulder direction, and stepping into the light.
Also, plan your dinner separately. A drink is included, but dinner is not. Use the shoot as the early anchor of your evening, then continue your night after.
Weather and cancellations: the one factor you should plan around
This experience requires good weather. If it gets canceled due to poor weather, you’ll be offered a different date or a full refund.
That’s not just fine print. Night photography depends on light and conditions. If you’re visiting around the edge of rainy season, consider booking early so you have time to reschedule if needed.
For cancellations, you can cancel for a full refund if you do it at least 24 hours before the start time.
Should you book Tokyo Nights: Shibuya Photo Adventure?
Book it if you want high-quality Shibuya photos without the stress of figuring out posing, timing, and camera settings yourself. The combination of 20 edited photos, night-focused locations, and guidance that makes you feel comfortable is the real value.
Skip it (or consider another option) if you hate being scheduled even loosely. The tour is structured and time-boxed, and you’ll be moving through specific stops in a set order.
If you’re on your first Tokyo trip and Shibuya is on your must-do list, this is a smart way to capture it. You get iconic imagery, plus the Center-gai and Miyashita Park variety that keeps your album from looking repetitive.
FAQ
How long is the Tokyo Nights: Shibuya Photo Adventure?
It runs about 1 hour 30 minutes to 2 hours.
Where do I meet for the tour?
You meet at SHIBUYA TSUTAYA disques Japan, at 150-0042 Tokyo, Shibuya, Udagawachō, 216, listed as B2F-8F. The tour ends back at the meeting point.
What time does the shoot start?
The start time is 7:00 pm.
What is included in the price?
The tour includes a local English-speaking guide/photographer, 20 edited photos, one drink, and it also lists admission tickets included for the listed stops.
When will I receive the edited photos?
You’ll receive them within 3–5 days via email or Google Drive.
Do I need modeling experience?
No. The photographer will guide you with poses and angles, and you don’t need any modeling experience.
Is there a limit on group size?
Yes. The maximum group size is 10 travelers.
What if the weather is bad?
The experience requires good weather. If it’s canceled due to poor weather, you’ll be offered a different date or a full refund. Free cancellation is available up to 24 hours before the start time.
If you want, tell me your travel dates and who’s going (solo/couple/friends). I can help you decide whether this is the right time slot compared with other Shibuya plans.