REVIEW · TOKYO
Japanese Calligraphy Experience
Book on Viator →Operated by True Japan Tour · Bookable on Viator
A brushstroke can feel like a tiny time machine. This Japanese calligraphy workshop in Tokyo pairs history with real technique so you learn how to hold an inkstone/brush, practice key motions, and walk away with a finished souvenir. I like the patient, English-speaking instruction and the way the class balances basics with hands-on practice. One thing to consider: you’ll only have about 90 minutes, so it’s best to aim for progress, not perfection.
Because the group is capped at 10 travelers, you’re not stuck watching from the back. You’ll start by learning how Japanese calligraphy works (tools, strokes, and how the writing system behaves), then you’ll use what you learn to create your own board before heading back to where you started.
In This Review
- Key Things I’d Actually Pay Attention To
- Japanese Calligraphy in Tokyo: What 90 Minutes Really Gives You
- Starting at Kikai Shinkō Kaikan: The Setting and the Pace
- Tools and Strokes: Inkstone, Brush, and the Japanese Writing System Basics
- Learning From a Patient Instructor: How Feedback Works in a Small Group
- Writing Your Name in Japanese: The Practical Moment That Makes It Click
- The Souvenir Calligraphy Board: Your Finished Piece (and How to Make It Yours)
- Price and Value: Why This One Costs What It Costs
- Getting the Timing Right: What to Do Before You Go
- Who Should Book This Workshop (and Who Might Skip It)
- Should You Book the Japanese Calligraphy Experience?
- FAQ
- How long is the Japanese calligraphy workshop?
- Where does the workshop meet?
- Is transportation to and from the venue included?
- What’s included in the price?
- What’s the group size limit?
- Do I need to bring my own calligraphy tools?
- What will I make during the class?
- How soon will I get confirmation after booking?
- Is there free cancellation?
Key Things I’d Actually Pay Attention To
- Small group size (max 10): enough time for feedback and corrections
- Two-part lesson: history + tools first, then your own souvenir piece
- Hands-on materials included: ink-brush calligraphy supplies rental plus a board
- Learn to write your name in Japanese: practical practice, not just theory
- Patient, friendly teaching style: slow down when your strokes need it
- Mobile ticket option: less fuss on the day
Japanese Calligraphy in Tokyo: What 90 Minutes Really Gives You
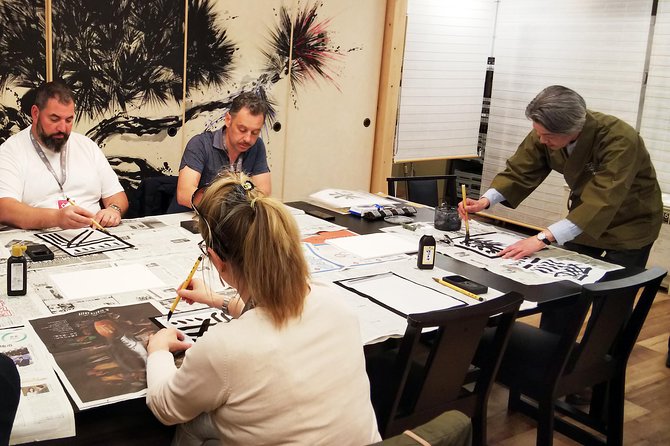
Tokyo has plenty of cultural things you can spectate. This workshop is different because it’s built for doing. You’ll spend roughly 1 hour 30 minutes with an accredited calligraphy instructor and a guide-interpreter, learning the basics of Japanese calligraphy with hands-on coaching.
What I like most is the balance. The lesson doesn’t just point at characters and move on. It helps you understand the mechanics—how ink behaves, how brush pressure and direction change the look of a stroke, and why the Japanese writing system is more varied than most people expect at first. The class also ends with a real product you can display at home: a calligraphy board souvenir, not a worksheet you forget in a drawer.
The main limitation is also honest: 90 minutes is still 90 minutes. You’ll learn enough to create something meaningful, but you won’t become a master calligrapher before dessert. Go in wanting a solid starting skill and a keepsake, and you’ll leave happier.
You can also read our reviews of more tours and experiences in Tokyo.



Starting at Kikai Shinkō Kaikan: The Setting and the Pace
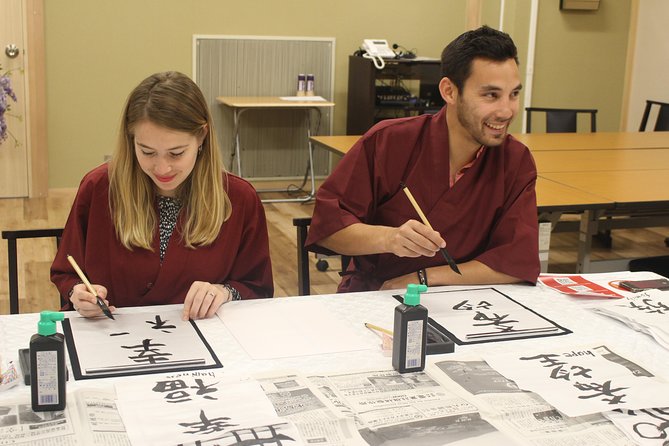
The workshop starts at Kikai Shinkō Kaikan, 3-chōme-5-8 Shibakōen, Minato City, Tokyo 105-0011 and ends back at the same meeting point. That matters more than it sounds. When the activity starts and finishes in the same place, you can plan your day around it without a lot of extra routing, and you don’t have to worry about an awkward mid-day transfer.
It’s also described as near public transportation, which is a big help in Tokyo. You’ll usually find it easier to arrive calm (and on time) when you’re not navigating a long, complicated commute. This kind of workshop is hands-on and tool-based—being rushed makes it harder to focus on what the instructor is demonstrating.
Pace-wise, expect instruction and practice back-to-back. The lesson structure is designed so the first half gives you the basics, then the second half lets you apply those basics on your board. Several participants highlighted that the teacher is patient and takes the time needed, which fits this format well. If you make a mess with ink, it’s not a catastrophe—it’s part of the learning curve.
Tools and Strokes: Inkstone, Brush, and the Japanese Writing System Basics
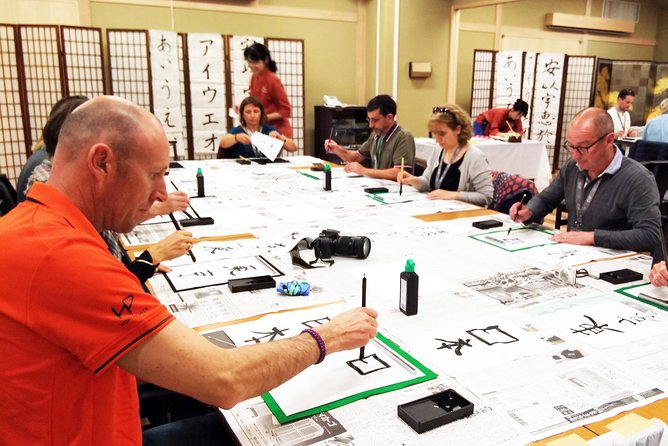
Most calligraphy experiences either skim the technique or focus only on finished results. This one is set up to teach the how. In the first half, you’ll learn how to use the tools: the inkstone and brush, and the practical steps that go with them. That’s important because calligraphy isn’t just drawing. It’s controlling a fluid medium with physical motion.
Here’s what you’ll typically be guided through:
- How to get set up with the brush and inkstone
- How to understand basic brushstrokes used in Japanese calligraphy
- How to handle the idea that Japanese writing has different behaviors depending on what you’re writing
The class also uses a very smart learning tool: writing your name in Japanese characters. That’s not just a cute souvenir add-on. It forces you to deal with real characters, real proportions, and real movement, which makes the session feel immediately useful.
One more thing I appreciate is that the class addresses the complexities of the Japanese writing system. Even if you’re not going deep into linguistics, having context helps you stop treating characters like stickers. You start seeing them as structured forms with logic behind how strokes connect and why certain motions matter.
Learning From a Patient Instructor: How Feedback Works in a Small Group
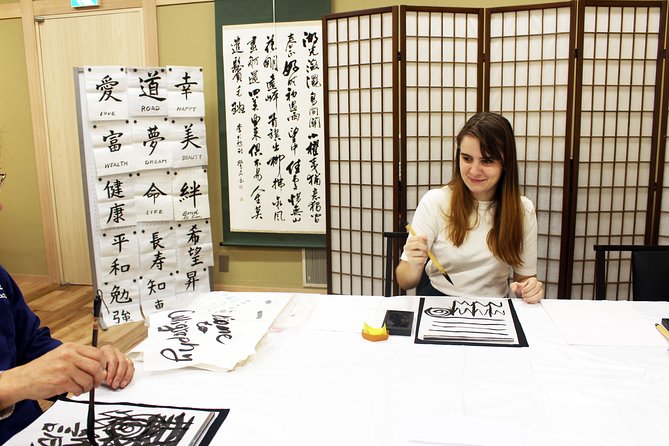
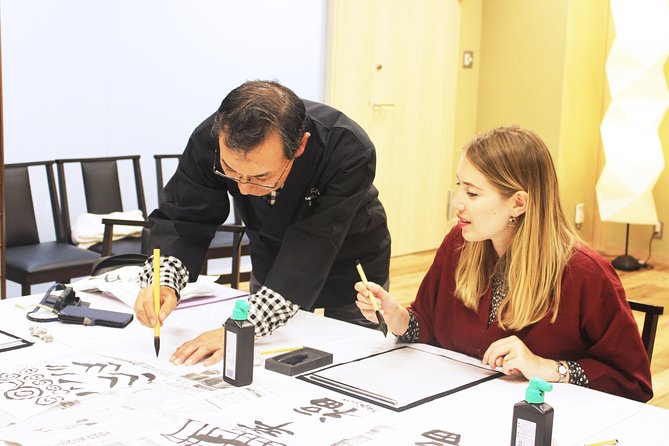
A lot of “intro” activities claim they’re friendly, but the difference here is time. With a group size capped at 10 travelers, you’re more likely to get personal corrections on your grip, stroke direction, and overall shape. That’s the kind of feedback that actually changes your results quickly.
In the workshop’s teaching style, participants specifically mentioned:
- The instructor being super patient, even with messy or imperfect handwriting
- Guidance on the different types of motions to produce the strokes correctly
- An approach where the teacher takes time so you can practice enough during the session
That last part is key. Calligraphy looks simple until you try it. Without enough practice, you end up with a board that looks different from what you wanted—and you may never understand why. In this format, there’s room to practice, adjust, and try again with coaching.
Also, the class is delivered with a tour guide-interpreter and an accredited calligraphy instructor. One review noted the teacher was well spoken in English. For you, that reduces the friction: you spend more time watching and trying, and less time guessing what the instructor means.
Writing Your Name in Japanese: The Practical Moment That Makes It Click
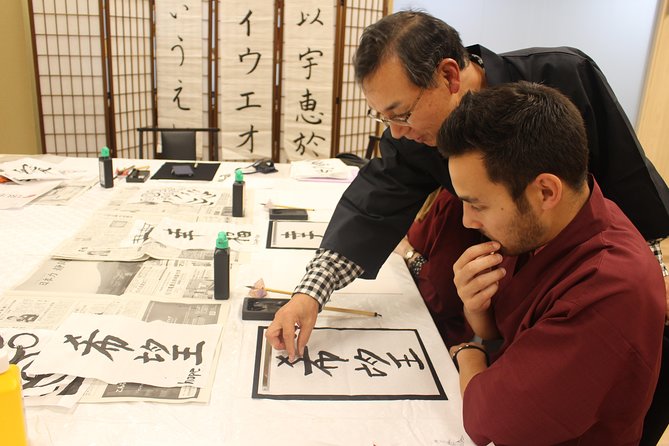
If you’re worried about whether your brain can handle calligraphy, this is the part that usually helps. Writing your name in Japanese characters turns abstract strokes into something personal. Even if you only manage a simplified or guided version, you get an immediate sense of how strokes behave on the page and how brush pressure changes the look.
Think of it like learning to drive:
- You start with controls
- Then you use them in a real situation
- You learn from small corrections
That’s what the “write your name” phase does for your confidence. It’s also psychologically useful. Many people assume calligraphy requires “perfect handwriting.” This workshop’s approach (slow, step-by-step, and supportive) is designed to reduce that pressure. Your name is the perfect practice target because it has meaning to you, and you can see your improvement faster than you could with random practice characters.
And because you learn basic brushstrokes and mechanics first, this part isn’t just a scramble. It’s the moment where you start connecting the theory to your hand.






The Souvenir Calligraphy Board: Your Finished Piece (and How to Make It Yours)
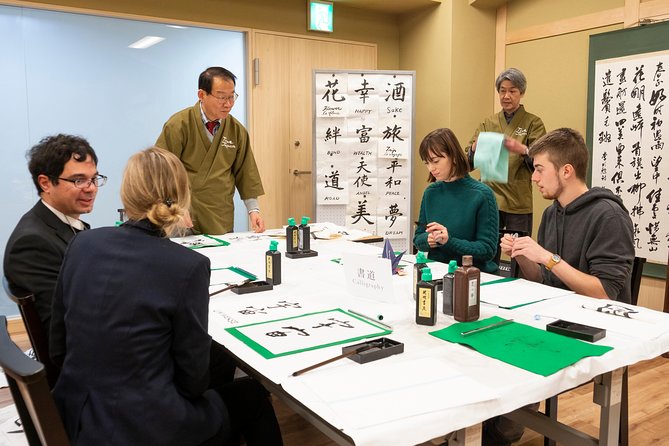
The second half is where you put everything together. You’ll create a calligraphy piece on a souvenir board, using the strokes and tool basics you learned earlier. This part is the pay-off, and it’s also where you can choose your mindset.
Instead of chasing perfection, aim for clarity. With calligraphy, readability and balance often matter more than tiny cosmetic differences. Your instructor guidance should help you shape the strokes correctly, and the board gives you a tangible result you can keep.
Participants mentioned that instructors took the time to create what people asked for, which is a good sign for your experience. It usually means you won’t be thrown into a one-size-fits-all template. You should be able to work with the instructor to align your final board with what you’re aiming for—whether that’s a specific character choice, a personal name version, or a style you’re asked to follow.
Practical tip: if you want your board to look like something you’d proudly hang, slow down during your final strokes. The earlier practice gives you momentum, but the finishing moments decide how the piece reads as a whole.
Price and Value: Why This One Costs What It Costs
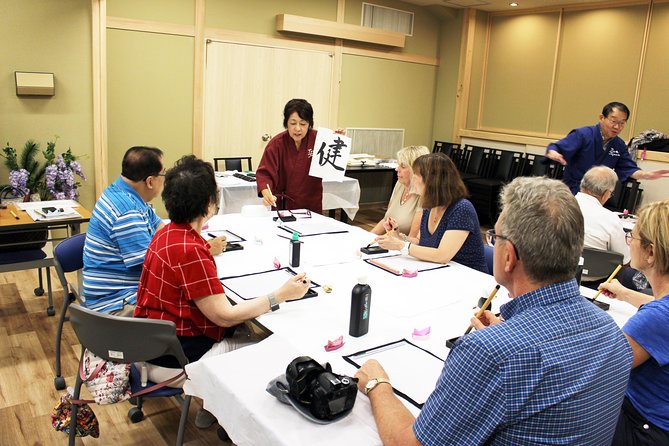
The price is $77.26 per person for about 1.5 hours. That might sound like “just a class,” but value is more about what you get inside the time.
Here’s what’s included:
- A nationally accredited tour guide-interpreter
- Calligraphy equipment rental
- A souvenir calligraphy board
Those inclusions matter. Many activities charge a similar base fee but then make you pay extra for materials or a final product. Here, you’re not just learning with disposable practice tools—you’re producing something you can bring home.
You also benefit from the class being designed around small-group attention (max 10). When instruction is one-on-one or close-to-it, your learning curve improves. That’s the hidden value: you can walk out with a result you actually like, instead of something you regret because nobody had time to correct your strokes.
If you’re comparing options, use this checklist:
- Does the price include materials?
- Do you finish with a board or product?
- Do you get enough time to practice with guidance?
This workshop checks those boxes.
Getting the Timing Right: What to Do Before You Go
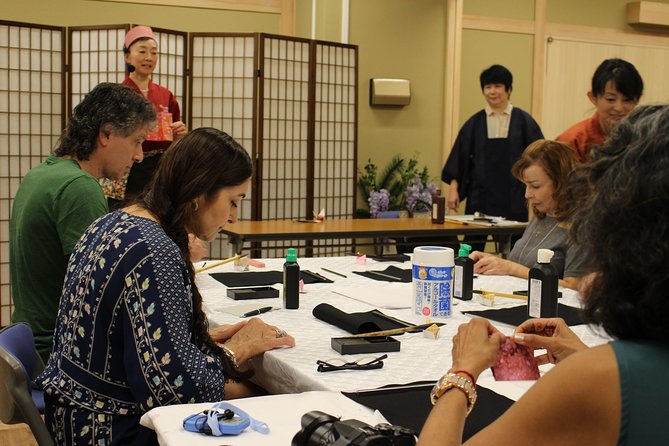
You don’t need special preparation, but you can make the session easier on yourself. Plan to arrive with a few minutes buffer so you can settle in. Calligraphy involves tools, ink, and careful motion—rushing makes it harder to listen and harder to focus.
Since the workshop is near public transport, you can build a simple day plan:
- Book the class earlier rather than cramming it between late-night plans
- Give yourself time to reach the meeting point calmly
Also, bring patience. That sounds basic, but it’s the difference between enjoying the process and getting frustrated by your own first attempts. The class is set up to teach you mechanics and motions, and your hands will need a couple tries to stop feeling awkward.
Who Should Book This Workshop (and Who Might Skip It)
Book it if:
- You want a hands-on cultural activity, not just a photo stop
- You like structured instruction with feedback
- You want a souvenir that’s personal and meaningful
- You appreciate a bit of context, like the history and the writing system basics
You might skip it if:
- You hate mess or messiness (ink and practice strokes can get messy, even if the class keeps it controlled)
- You only want casual sightseeing with zero learning focus
- You’re hoping for a long, advanced-style session. This is beginner-friendly and foundational, not a multi-session conservatory
Overall, it’s a great fit for first-timers and anyone who likes learning craft skills with a supportive instructor. It’s also a nice option for travelers who want something authentically Japanese that doesn’t require fluent language skills.
Should You Book the Japanese Calligraphy Experience?
Yes—if you want a compact, high-value Tokyo activity that ends with something real in your hands. The small-group size, the inclusion of equipment rental and a souvenir board, and the teaching approach (patient guidance and enough time to practice) all line up well for most beginners.
If you care about technique and want to understand what you’re doing, you’ll get more out of it than a basic “watch me write” demo. And if you’re the type who likes memorable souvenirs, this one hits harder than typical tourist shopping because it’s created by your own strokes.
If your main goal is speed or you’re only in Tokyo for a single afternoon, consider booking with enough buffer time to get there calmly. Then show up ready to learn, take your time, and enjoy the moment your board starts looking like it belongs to you.
FAQ
How long is the Japanese calligraphy workshop?
It runs for approximately 1 hour 30 minutes.
Where does the workshop meet?
The meeting point is Kikai Shinkō Kaikan, 3-chōme-5-8 Shibakōen, Minato City, Tokyo 105-0011, Japan.
Is transportation to and from the venue included?
No. Transportation to/from the venue is not included.
What’s included in the price?
The workshop includes a nationally accredited tour guide-interpreter, calligraphy equipment rental, and a souvenir calligraphy board.
What’s the group size limit?
The workshop has a maximum of 10 travelers.
Do I need to bring my own calligraphy tools?
No. Calligraphy equipment rental is included.
What will I make during the class?
You’ll create a calligraphy piece on a souvenir board.
How soon will I get confirmation after booking?
Confirmation is received within 48 hours of booking, subject to availability.
Is there free cancellation?
Yes. You can cancel up to 24 hours in advance of the experience for a full refund.